![]() DVD Creator
DVD Creator
Basics
Burn Video to DVD
Edit Video before Creating
Vidmore DVD Creator is the best DVD maker which is able to convert almost all popular video formats including MP4, AVI, MOV, MPEG, MKV, MPG, 3GP, VOB, FLV, M2TS, MTS, TS, SWF, etc. to DVD disc/folder/ISO file. What’s more, with this easy-to-use Blu-ray burner, you are able to create Blu-ray disc, Blu-ray folder and Blu-ray ISO file from any video you have.
Apart from burning DVD/Blu-ray, this DVD burning tool is designed with a practical built-in video editor which makes it easy for both pros and beginners to make professional-looking DVD. And this software enables you to stylize your DVD with stylized menus.
Step 1 Launch Vidmore DVD Creator on your computer. Insert a blank DVD or Blu-ray disc to the DVD drive if you want to burn videos into DVD or Blu-ray disc.
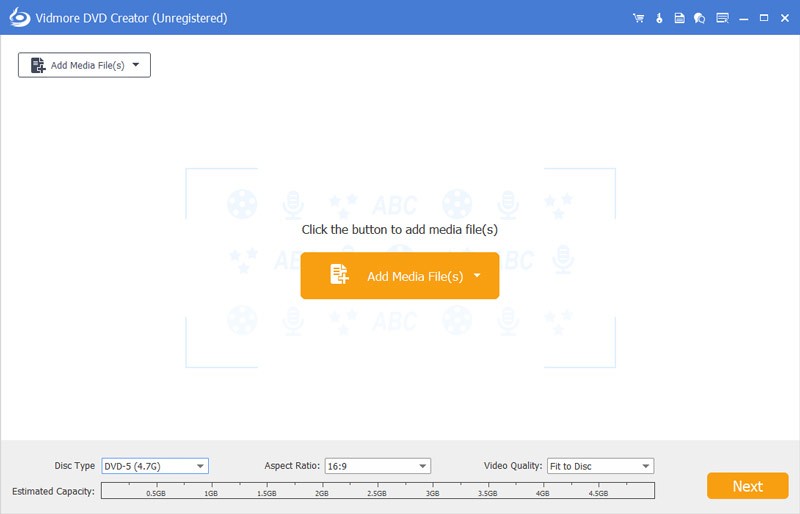
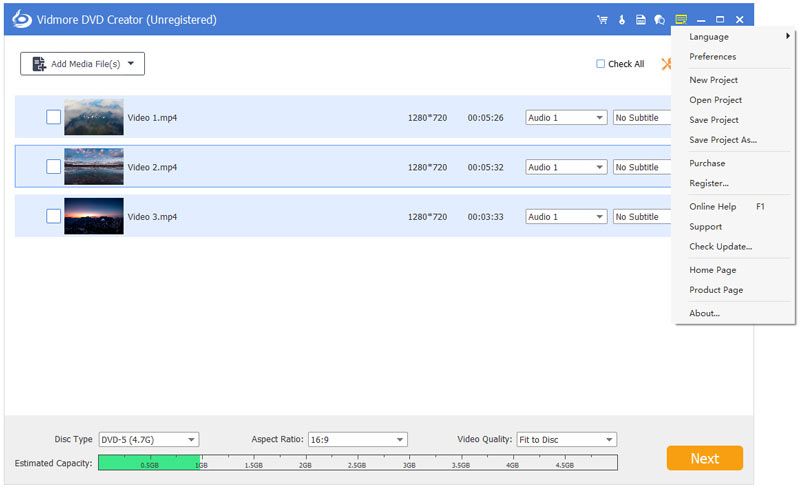
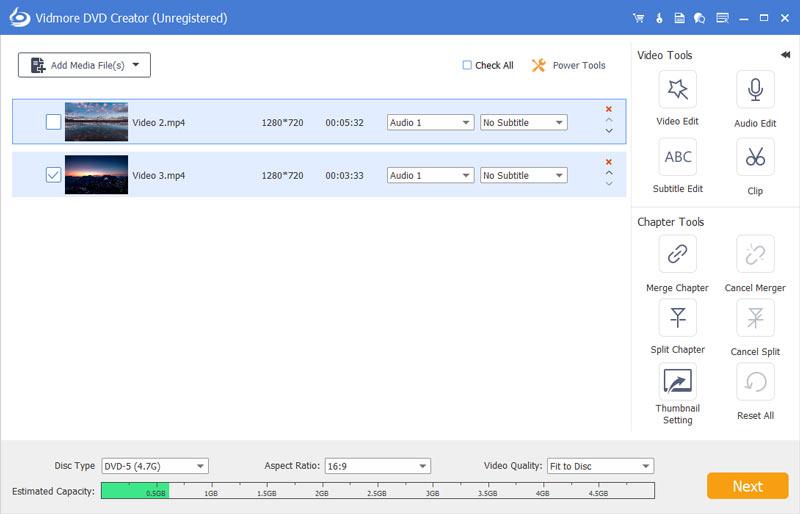
Or click “Add Media File(s)” to import the video files into this program. Then click “Next”.
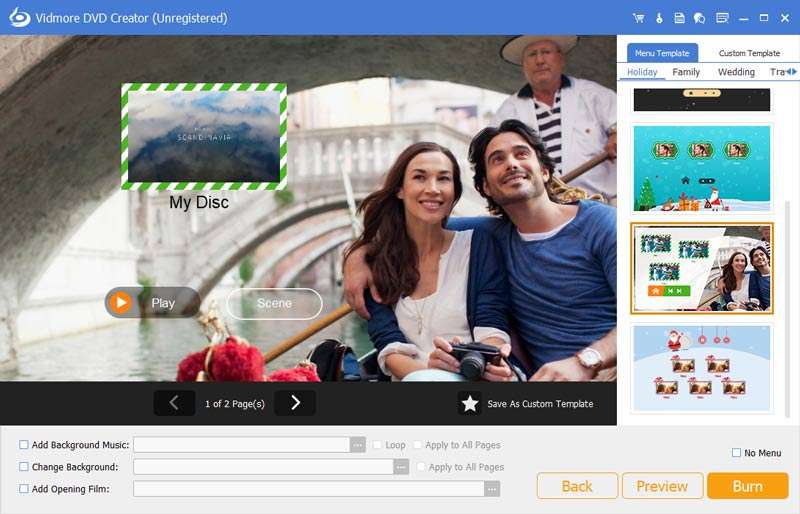
Step 2 Edit Menu
Select the menu template or customize the template to adjust the button, or title for your DVD file.
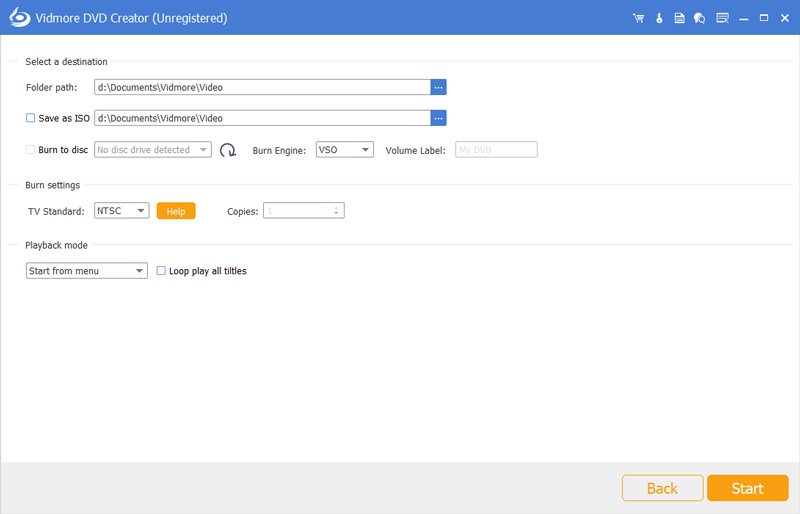
Step 3 Burn to DVD/Blu-ray
After editing, click “Burn” to enter into the Settings window to select a destination, make burn settings, and select playback mode. Then click the “Start” button to get the videos burning.
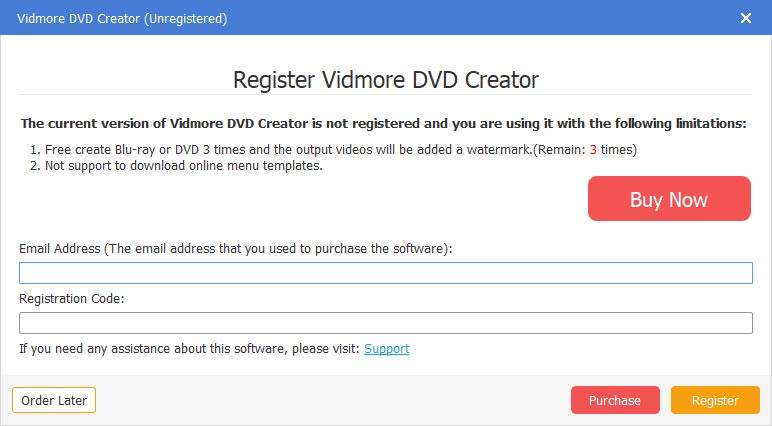
After launching this software, it will pop up the register window for you on which click “Register”, and input your Email address and the Registration code sent in email. Then click “Activate” to register.
To update the software, click the menu icon on the right of the top bar and select “Check Update”. Then the program will check the version you’ve installed. If the version is not the newest, it will remind you to update the software.
Or you can download the latest version of Vidmore DVD Creator from the product page.
Step 1 Add video or load DVD
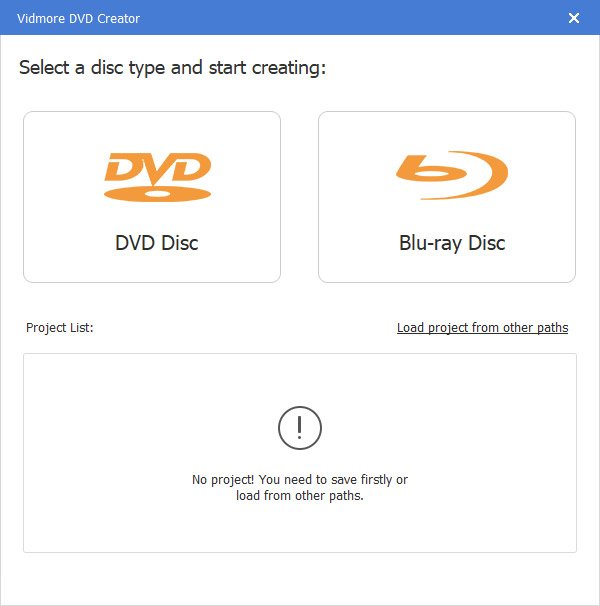
After downloading and installing this DVD maker, launch it on your computer. Select “DVD Disc” on the left side of the interface.
Click “Add Media File(s)” to import the video files into this program. Then click “Next”.
Step 2 Edit Menu
Select the menu template or customize the template to adjust the button, or title for your DVD file.
Step 3 Burn to DVD/Blu-ray
After personalizing your DVD project, click “Burn” to enter into the Settings window to select a destination, make burn settings, and select playback mode. Then click the “Start” button to get the videos burning.
Step 1 Add video or load DVD
Open Vidmore DVD Creator on your computer. Select “Blu-ray Disc” on the right side of the interface.
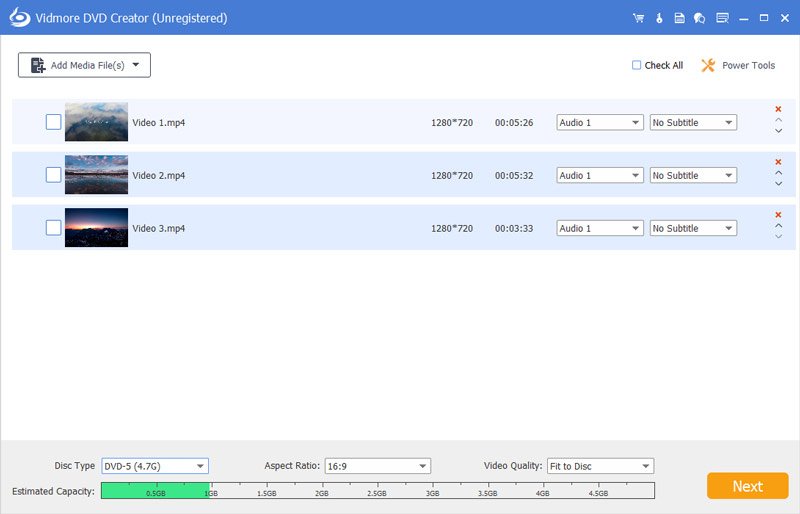
Then, click “Add Media File(s)” to import the video files into this program and click “Next”.
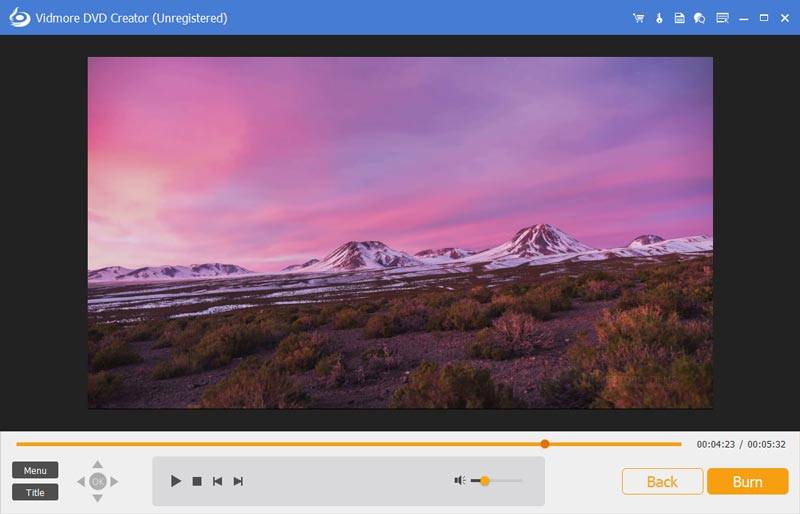
Step 2 Edit menu
Select a menu for your DVD project from the menu templates. You can customize the menu by adjusting the button, or title for your Blu-ray file. You can preview your stylized Blu-ray file. After that, click “Burn” to proceed.
Step 3 Burn to Blu-ray
Then you can select the destination and change the burn settings. In the end, click “Start” to make video files into Blu-ray.
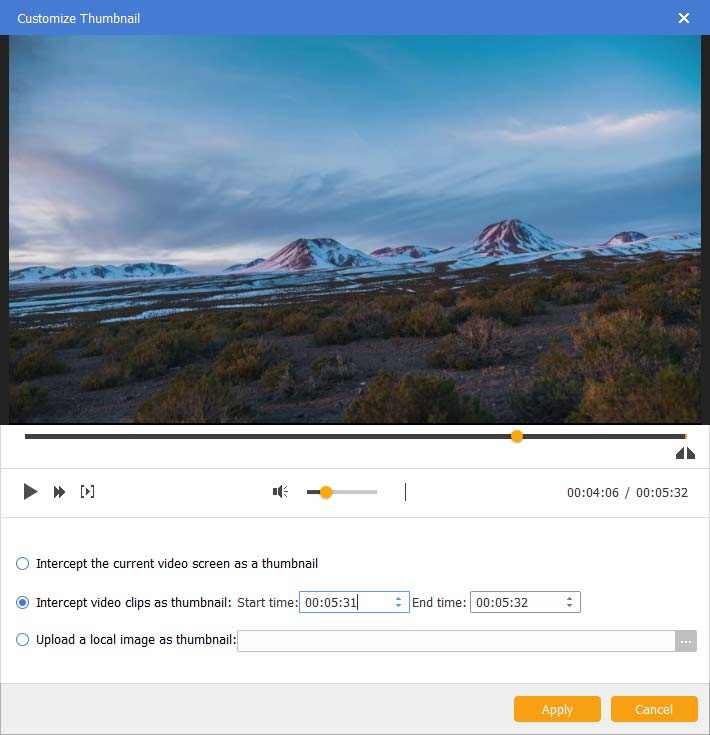
One of the most attractive features of DVD Creator is the built-in editor, which enables you to edit your videos, audio, subtitle, thumbnail, and merge or split chapter.
For editing your videos, just click “Powerful Tools” on the upper-right corner to enter the editing window. Here you can find there are two parts: Video Tools and Chapter Tools.
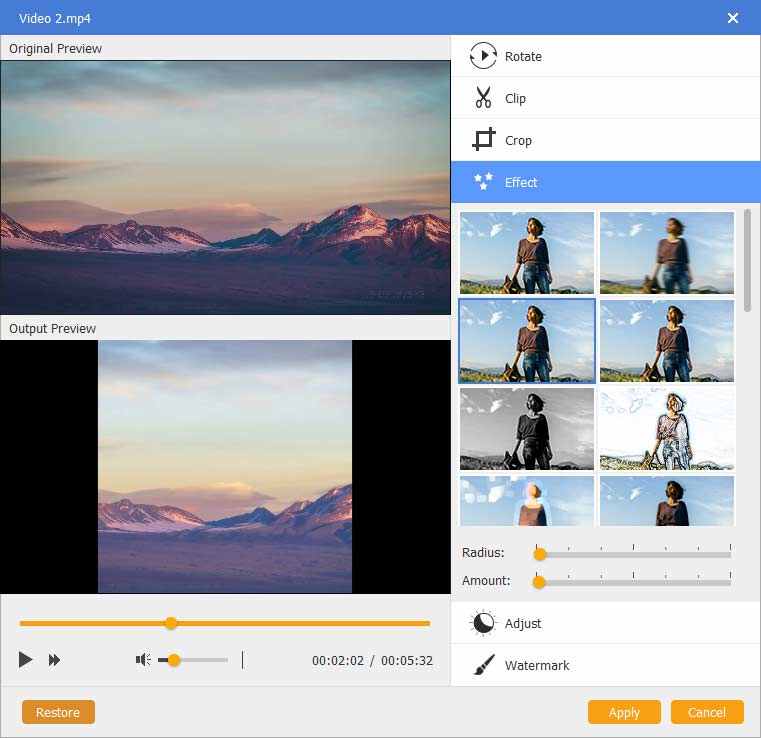
You can rotate, clip, crop, add video effect, adjust volume/brightness/contrast/saturation/hue and add watermark before creating.
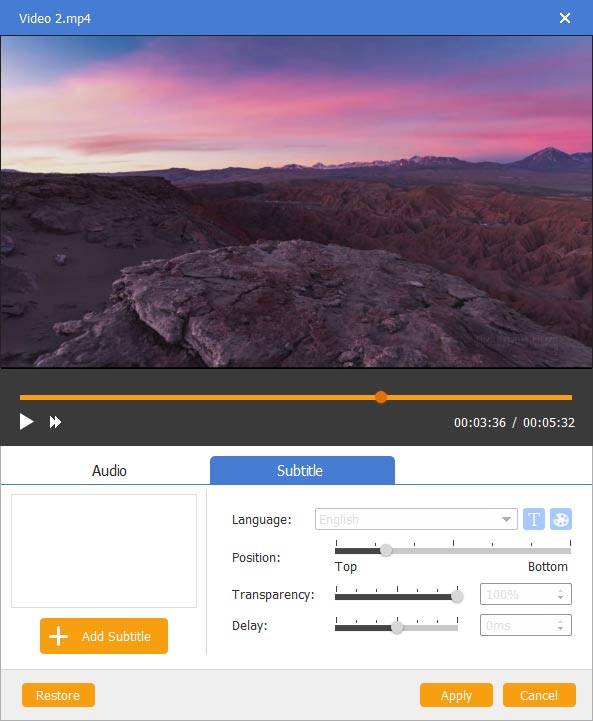
For audio editing, you can add new audio track or remove the current audio track, adjust the volume, select the language and fix the delay problems.
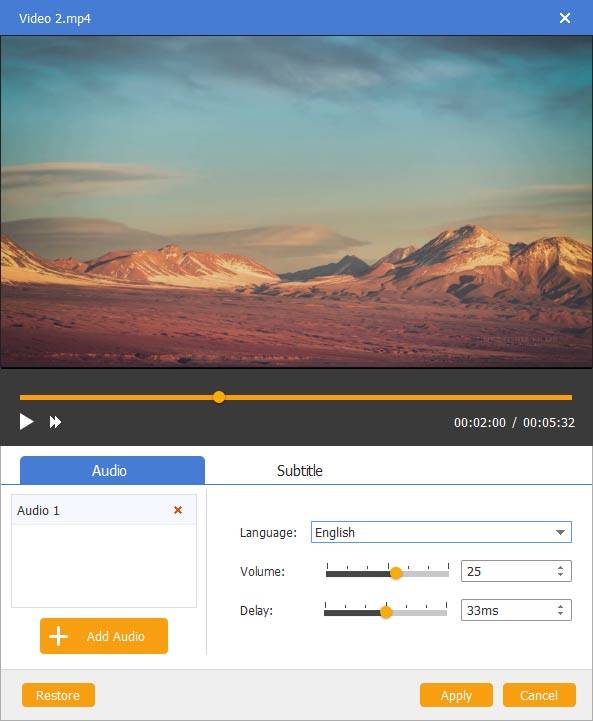
You are able to add UTF, SRT, SMI, TXT, SSA, RT, JSS, AQT, JS, ASS, and VTT subtitle. What’s more, the problem of transparency, position, delay can be solved.
Subscribed Successfully!