How to Record my Computer Screen with Audio (2025)
Screen recording has become a vital tool for many individuals and enterprises in the current digital era, particularly with the rise of remote work. Adding audio to your training videos can make them more engaging and interesting, whether you're creating them to onboard new hires, record a presentation, or capture an online webinar for later use. Everything you need to know about recording a computer screen with audio on both Mac and Windows systems is covered in this guide. Kindly read this article now, as we provide you with the best methods for making it possible.

PAGE CONTENT
Part 1. Can I Record a Computer Screen with Audio
Yes, you can record a computer screen with the audio. However, the right software is required. Certain computers and operating systems are pre-installed with features that integrate tools to let you record both audio and the screen. If this feature is not available on your PC, you can record your screen with sound using third-party apps.
There are two ways to record audio with screen recording: either the microphone or the system audio. All sounds that come from your computer programs, such as music or notification alerts, are referred to as system audio. It is not possible to record system audio on Macs due to Apple's system constraints. Conversely, microphone audio refers to any sound recorded by the external or built-in microphone on your computer. Armed with this information, you may search for a screen recorder that can manage both the microphone and system sounds.
Part 2. Methods to Record a Computer Screen With Audio
Method 1. Record Computer Screen with Audio via Professional Recorders
Vidmore Screen Recorder
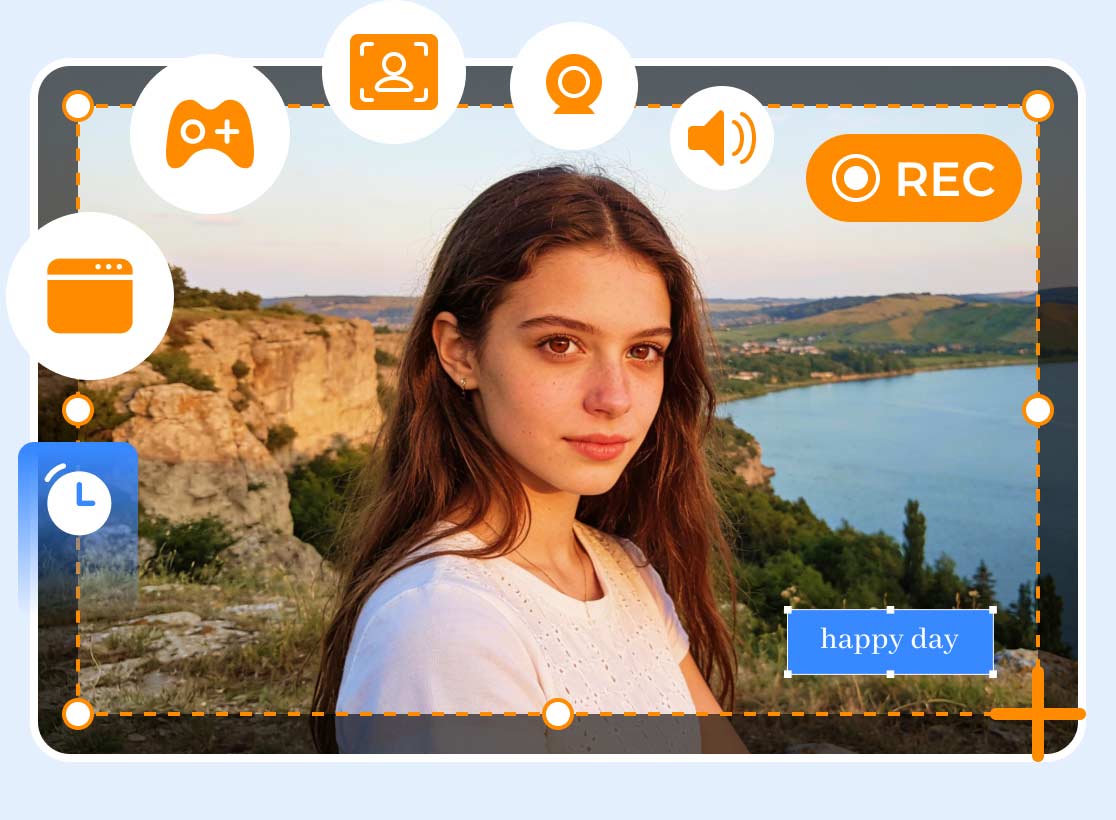
A professional tool like Vidmore Screen Recorder is a great option if you want the best recordings possible, along with crystal-clear audio and screen images. Its multipurpose design allows you to record both microphone and system sound simultaneously, save in multiple formats, and capture the entire screen or a selected area. It is perfect for both novice and expert users due to its user-friendly interface.
Key Features
• Excellent video and audio recording.
• Region or full-screen recording.
• Support for microphone and system audio.
• Various options for output formats.
• Simple, intuitive interface.
Steps in Using Vidmore Screen Recorder
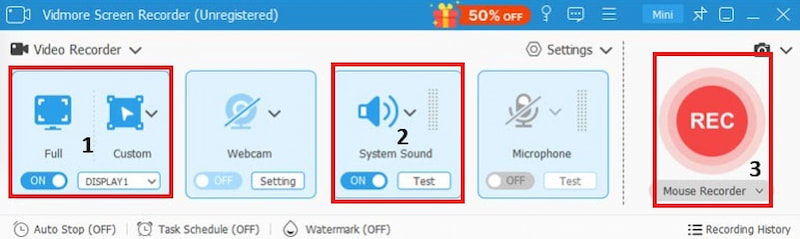
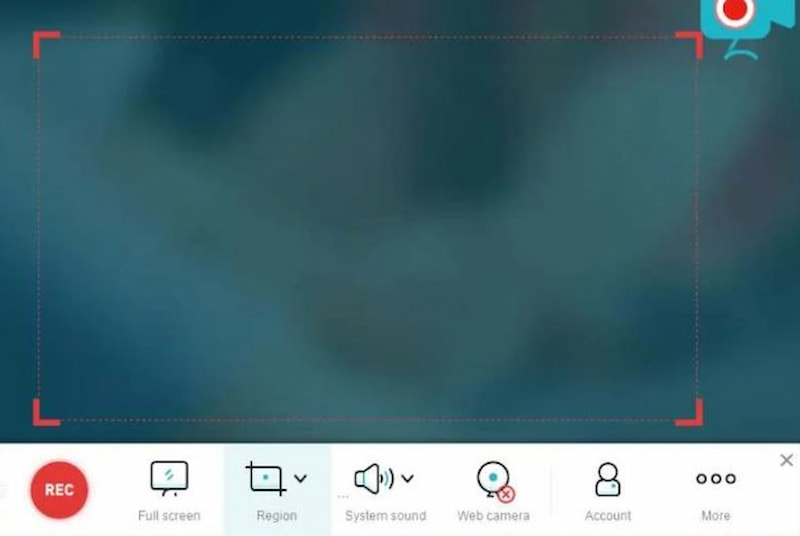
Step 1. Open the Vidmore Screen Recorder on your computer. From the floating interface, click the area you want to record. You can choose between a Full or Custom area.
Step 2. After that, it is important to turn on the System Audio to capture both screen and audio.
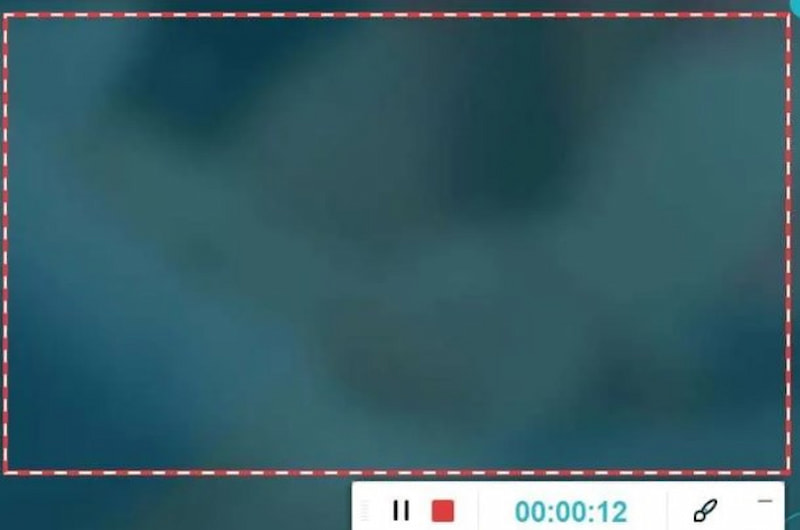
Step 3. Click the Record button now and do your thing. You can click the Stop button once you are done. Extra features will allow you to annotate and do basic editing with it.
Method 2. Record Computer Screen with Audio via Built-in Recorders
Xbox Game Bar
Windows 10 offers multiple methods for audio screen recording. For instance, you can use the Xbox Game Bar, a built-in screen recorder in Windows 10. This can record other screen activity even if it was designed to record gameplay. Additionally, you can change the frame rate, video quality, and maximum recording duration. Here's how to use the Game Bar app on Windows 10 to record your screen while playing music:
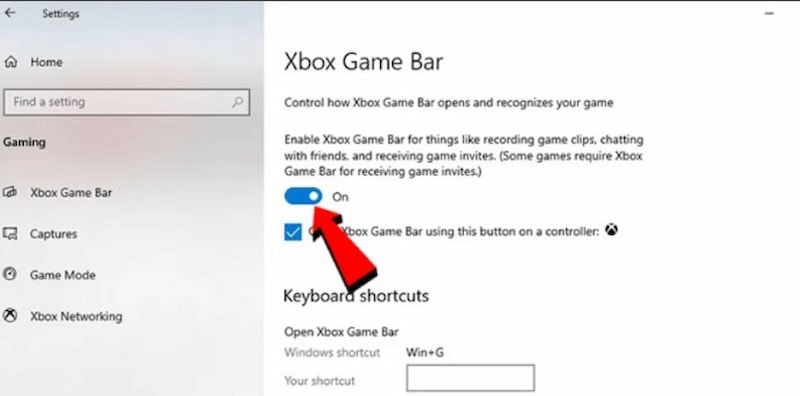
Step 1. You must first activate the Game Bar before you can utilize it. To open the Settings menu, use the Windows + I keys. Turn on the switch after choosing Gaming and go to the Xbox Game Bar.
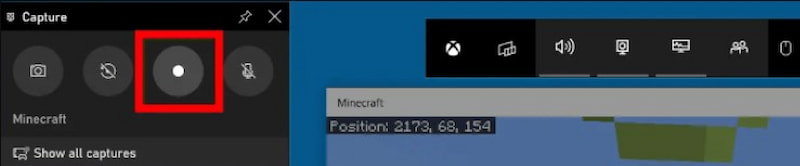
Step 2. Press the Windows + G combo keys to launch the recording panel while you're opening the screen you wish to record. When asked, select Yes, this is a game. Then, to record your screen, select Start Recording.
Step 3. You can either press Windows + Alt + R to end the recording or click Stop in the recording bar. You'll use File Explorer to locate your screen capture. Select This PC as you go to Videos, then go to Captures.
QuickTime Player
For Mac devices, QuickTime Player is one of the most common screen recording apps available and it is built-in. To capture your Mac's screen and sound:
Step 1. Go to Finder as you click Applications and open the QuickTime Player tool. From the menu bar, Select File and look out for the New Screen Recording.
Step 2. Choose whether you want to record the entire screen or the specified area. Then click on Options and choose the audio source; it is the built-in microphone by default. To start recording, click Record.

Step 3. To stop recording, click the Stop Recording option in the top menu bar of your screen and you can view the recording immediately.
Method 3. Capture Computer Screen with Audio via Online Recorders
You may use the Chrome plug-in to record your screen and webcam online using this web-based screen recorder. To help you learn how to use the free online screen recorder Apowersoft to record your computer's screen, we've created a guide with detailed instructions.
Step 1. Click the Start Recording button after visiting the Apowersoft Free Online Screen Recorder website. Please note that this is the download button for the site. The launcher needs to be downloaded and installed for new users.
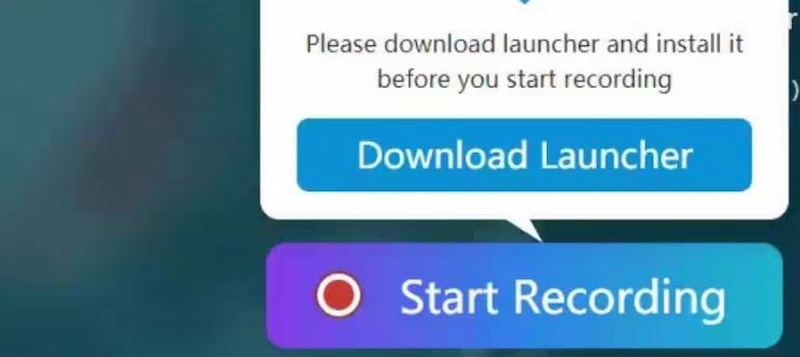
Step 2. After installation, launch Apowersoft Online Launcher.exe and select Start Recording once more. This time, it is the real-time recording button.
Step 3. After adjusting the frame rate, format, bit rate, and other settings, select Full Screen or Region. To save, click OK.
Step 4. To begin, press the red Record button. To annotate, use the Pencil; to pause, use Pause; and to conclude, use Stop.
Part 3. FAQs about Recording a Computer Screen With Audio
Is it possible to simultaneously record the microphone and the system sound?
Indeed. The majority of contemporary recorders provide simultaneous recording, making them ideal for voiceovers or game commentary.
Which frame rate and resolution work best for screen recording?
Aim for 1080p at 30 to 60 frames per second for fluid playback. Lower settings could lessen CPU burden and save storage.
Will my computer lag if I record my screen?
It can, especially if you’re recording high resolution or gaming. To reduce lag, close any programs that aren't in use and change the quality settings.
Which file types work best for recording storage?
Due to its interoperability and reduced file sizes, MP4 is commonly utilized. WMV, MOV, and AVI are further choices.
Can I make changes to my recording after it has been captured?
Indeed. Basic editing capabilities are sometimes included with screen recorders, or you can utilize video editors to improve quality, add text, or reduce footage.
Conclusion
With so many tools and techniques at your disposal, recording your computer screen with audio is now simpler than ever. Whether you need to record presentations, gameplay, or tutorials, using the appropriate software and settings guarantees excellent results. You can record with confidence and clarity by being aware of your alternatives, whether they are built-in tools, internet recorders, or specialized apps. This will make your content interesting, polished, and prepared for sharing.