Helpful Tips & Guidelines to Use QuickTime to Crop Video
Most of the queries on the internet are about how to use QuickTime to edit videos, especially talking about video cropping. We must acknowledge that QuickTime is a famous software for Mac, and for beginner users, you need instructions to do it. Read this article to be enlightened on cropping videos using QuickTime.

PAGE CONTENT
Part 1: How to Crop a Video in QuickTime
Based on our research, QuickTime is a pre-installed software, and you cannot use it to crop a video. To make it possible, you need to upgrade your QuickTime to Pro, which costs a dollar and more. In addition, if QuickTime 7 is already installed on your Mac, upgrade your QuickTime to QuickTime Pro now.
Furthermore, you will need Photoshop to make a mask file upon cropping on QuickTime. Take note; if you still need to become familiar with Photoshop, making a mask file will take many minutes. After the installation process of Photoshop on your Mac, see the steps below:
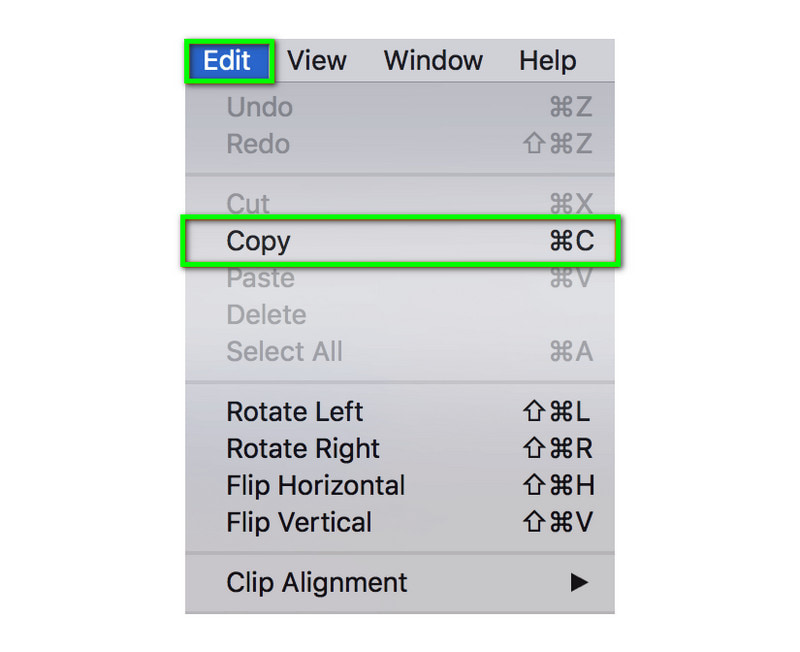
Step 1: Ready the snapshot of the frame of your video using QuickTime. After that, open the video. Then, on the Option Lists, select the Copy button.
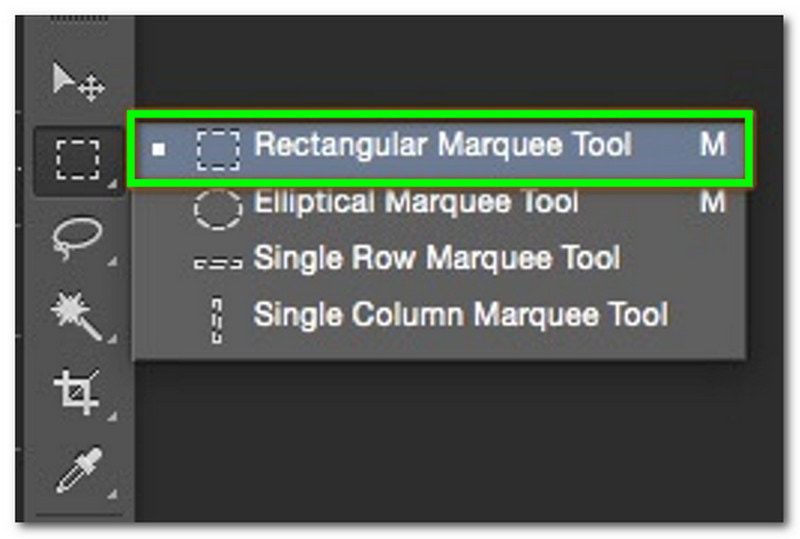
Step 2: After that, launch Photoshop and click the File button to create a New Project. Then, you need to paste the video that you recently copied. Next, select the Rectangular Marquee Tool, which allows you to select an area and fill it with black color. Then, fill the outside box with the color white. Then, save it in a format of GIF or TIFF.
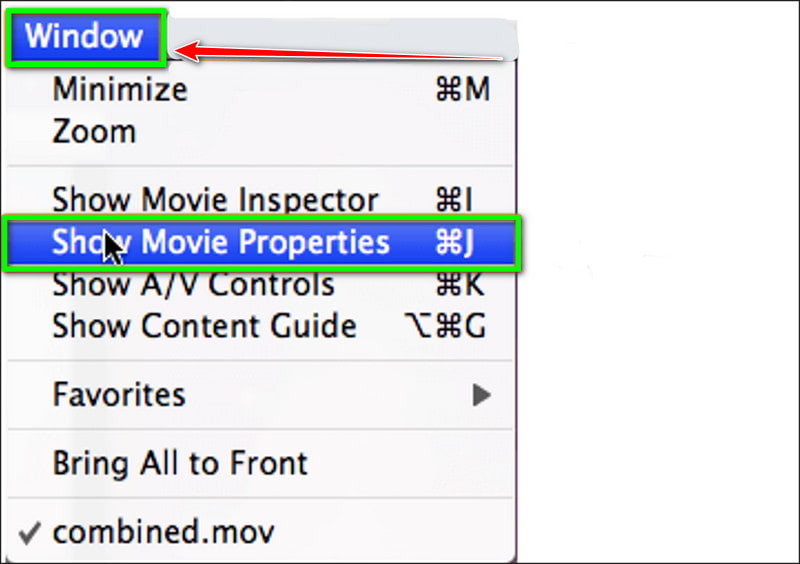
Step 3: Next, launch QuickTime. On the top left corner, select the Window; below that, you will see a list. Then, choose Show Movie Properties and Visual Settings. After that, tap the Choose button in order to import the mask file.
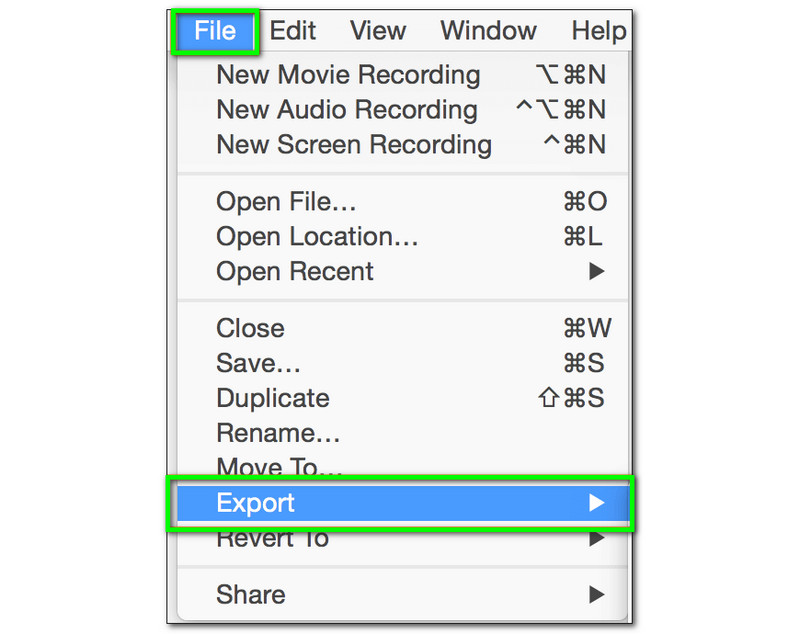
Step 4: The mask will immediately be applied to your video, and the selected area will appear. Now, click the File below the lists and choose the Export button to save your cropped video.
We have seen that cropping videos using QuickTime is a little bit complicated. However, after the cropping process, the result is satisfying. Moreover, the disadvantage is that QuickTime is a pre-installed software on Mac. Therefore, it will be a bit complicated if you are not used to using it. But overall, you can use these as a guide.
QuickTime is a built-in app on Mac. But when you install QuickTime on iPhone, you can refer to this post to crop a video on the iPhone.
Part 2: Tips for Using QuickTime
We are informed that QuickTime offers many features. Moreover, there is more you need to know about QuickTime. QuickTime is not just about how to crop and resize a QuickTime video file; it can do more. How? In this part, we will share some tips you deserve to know about QuickTime.
Tips #1: Preferences for Quick Time
- QuickTime Shortcuts
- QuickTime Icon
- Remove qttask.exe
- Automatic Updates
- Browser Playback
- Streaming
- Player Preferences
Tip #2: Joining Video Clips on QuickTime
Considering that our topic today is QuickTime cropping video, we will share that you can also join the cropped video clips using QuickTime. If you have 5 to 10 video clips on your iPhone, merge them using QuickTime.
To create many videos into one movie, you need to open QuickTime. After that, drag and drop the video clips you want to add, and QuickTime will automatically join the videos seamlessly with no quality loss.
Furthermore, you can change the position of your videos by dragging the specific video to your desired position, whether in the movie's first minute or last minute. Another tip, upon adding video clips, you can trim them, also. After that, you can save it to your Mac.
Tip #3: Changing the Playback Rate of QuickTime
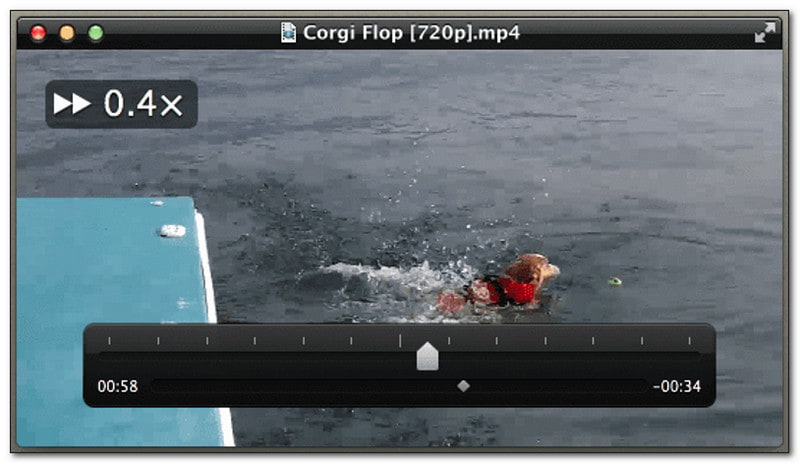
We are still talking about the video on QuickTime. This last tip is helpful, especially for those who love to keep videos, maybe to watch the tutorials again, or even to keep memories. You can control the video's playback if you think it is too fast or too slow.
The great thing about it is that you can modify the video by clicking and holding the Play and Pause buttons for about two to three seconds. Then, the playback speed control will appear, and QuickTime lets you adjust the video’s speed with much precision. And that is it! For more details about using QuickTime to slow down a video, you can refer to it.
Part 3: Alternative Way to Crop Video
Yes, we agree that QuickTime is kind of difficult to use. For that reason, users desire much more manageability to use software for cropping their videos. In short, you do not need Photoshop or any third-party software to crop a video. We are introducing you to Vidmore Video Converter.
It is a converter software, but how come it can crop video? That is a good question. If you do not know yet, Vidmore Video Converter offers a Toolbox to find the Video Cropper.. It lets you crop a video in 1:1, 9:16, 4:3, and other aspect ratio.
But before that, here are the other features of Vidmore Video Converter. See the lists below, and after that, we will proceed to the steps.
- It offers over 30 tools under Toolbox, which contains Video Compressor, Video Merger, Video Enhancer, Video Cropper, Video Trimmer, and more.
- It lets you split videos with multiple screens on one computer.
- It also lets you choose from the available aspect ratios like 16:9, 4:3, 21:9, 9:16, etc.
- It is compatible with Mac and Windows computer fo that you can edit and crop a video easily.
Step 1: After downloading and installing Vidmore Video Converter, then launch it.
After that, go to the Toolbox.
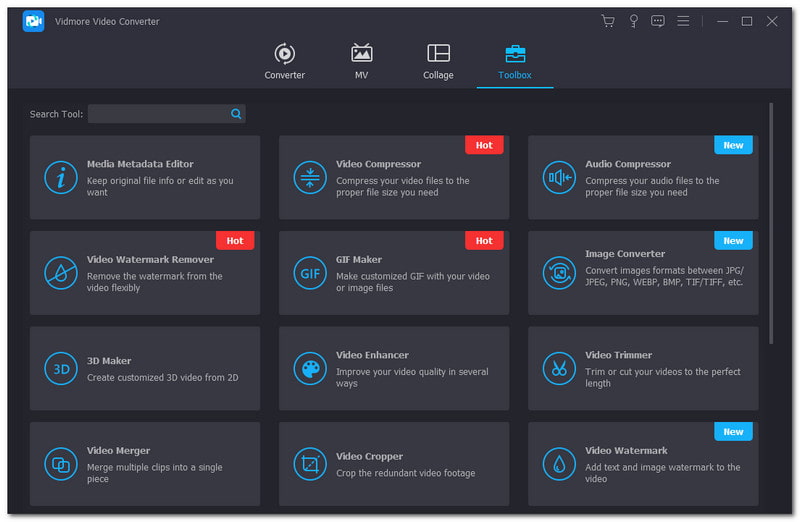
Step 2: In the Toolbox, find the Video Cropper and launch it. After that, you will see the Plus Sign in the middle of the panel. Click that and choose the video you desire to crop from your PC.
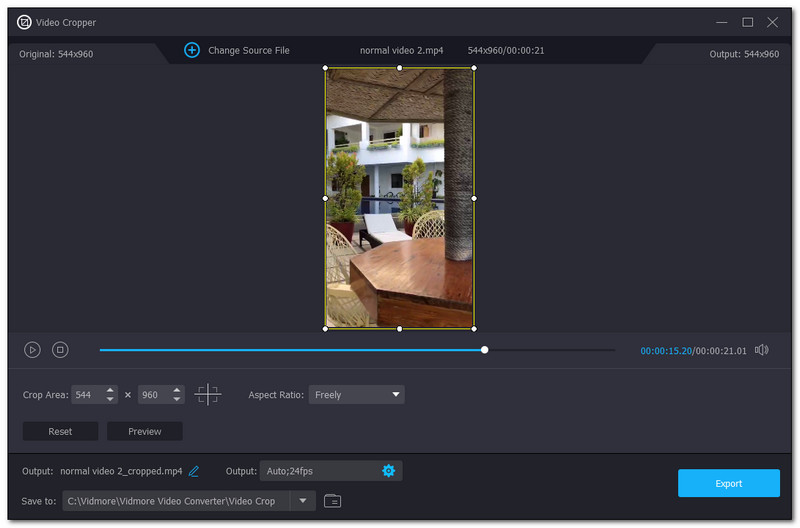
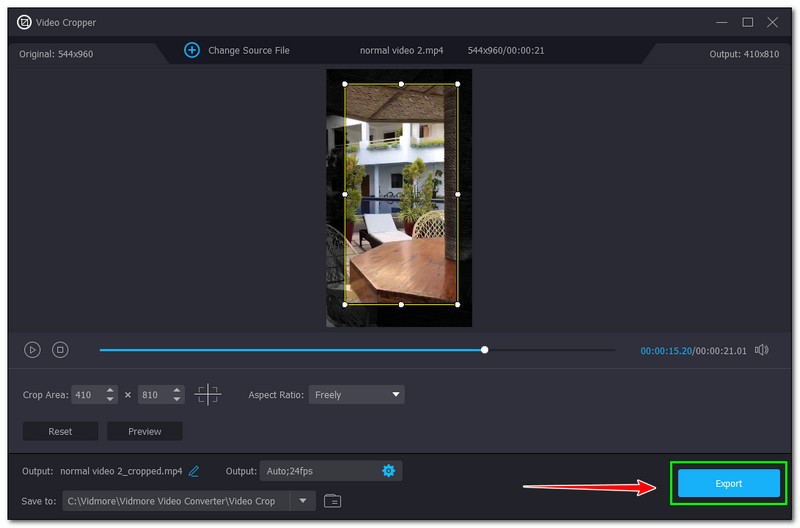
Step 3: Below the Preview, you can adjust the Crop Area or select the size on the Aspect Ratio. If satisfied, click the Export button on the bottom right of the Video Cropper panel. After that, it will automatically save to your PC.
We are now witnessing how easy the cropping process is using Vidmore Video Converter. Furthermore, you can do more since it has numerous features. In addition, you can convert, create MV, and make collages. Try it now!
Part 4: FAQs of How to Crop Video on QuickTime
How to crop video in QuickTime Player?
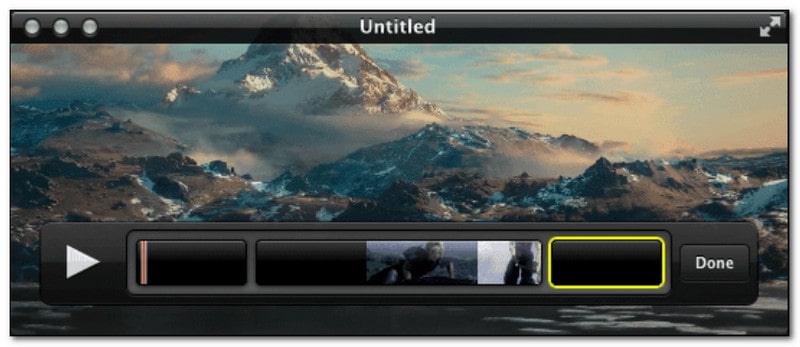
To summarize, open the QuickTime Player. Then, go to the File button and add the video you like. After that, crop the excess area you dislike on your video by dragging the yellow bar from the beginning and ending part of the video. Then, save the output video.
Is there a difference between trimming and cropping videos?
When you trim a video, you will change the length of the video and keep the frames while deleting others. On the other hand, when you crop a video, you resize the video in QuickTime and maintain the part of the image while removing the excess areas.
What are the video formats QuickTime supports?
QuickTime almost supports the Apple multimedia formats. It can launch MP4, MOV, MPEG-2, MPEG-1, M4V, etc. Supposing you cannot open a video in QuickTime, convert the video first to MOV format.
Conclusion
This How-To article discussed how to crop videos using QuickTime. We discovered that in order to crop videos on QuickTime, you must use Photoshop first. Furthermore, if you do not want that process, use Vidmore Video Converter as an excellent alternative. This ends our How-To article, and we will see you at our next one!