3 Ways to Extract Frames From a Video [2026 Guide]
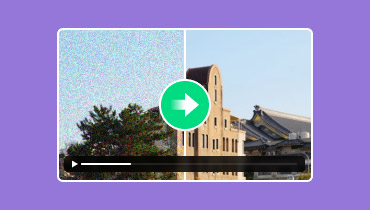
Videos are made up of thousands of individual images called frames, and sometimes, you only need one perfect moment. Knowing how to extract frames from a video can save you time and effort. Instead of relying on low-quality screenshots, proper frame extraction lets you capture clear, high-resolution images straight from your video.
In this guide, you’ll learn four effective ways to extract frames from a video, using both built-in tools and dedicated software. We’ll also explain why frame extraction matters, and walk you through each method step by step. By the end of this article, you’ll know exactly which method works best for your needs, whether you’re a beginner or a more advanced user.

PAGE CONTENT
Part 1. Why Extract Frames From Videos?
Extracting frames from a video allows you to capture precise moments without compromising image quality. Instead of taking screenshots or replaying scenes repeatedly, frame extraction gives you clean, high-resolution still images that can be reused for different purposes.
Here’s why extracting frames from videos is useful:
- Create high-quality thumbnails without motion blur or compression issues.
- Capture specific moments or scenes from a video with exact timing.
- Use still images for presentations, articles, or social media.
- Analyze video details frame by frame for editing, review, or study purposes.
- Save time and effort compared to manual screenshots or re-recording.
This makes frame extraction an essential skill for anyone working with videos, from casual users to content creators and professionals.
Part 2. 3 Methods to Get Frames From Video
There are several ways to extract frames from a video, and the best method depends on your skill level, desired image quality, and how much control you need. Some tools are beginner-friendly and offer quick results, while others provide more advanced options for precision and batch processing. Knowing the differences can help you choose the most efficient approach for your specific needs.
In this section, we’ll walk you through four practical methods for getting frames from a video, from using dedicated video enhancement software to manual and advanced solutions. Each method is explained step by step, highlighting when and why you might want to use it.
Method 1: Doing Manual Screenshots
Now, if you want to extract a frame from a video, especially after enhancing it. You can do manual screenshots.
Taking screenshots or getting frames from a video is easy using the Snipping Tool. Below are the two ways on how you can manually extract frames from a video using the Windows snipping tool:
Windows 11
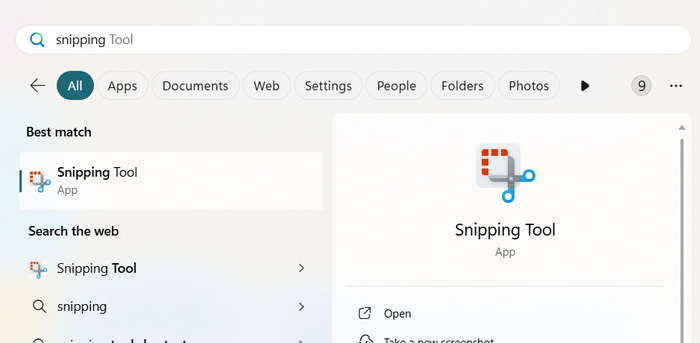
Step 1. First, access the Snipping Tool by going to the Windows icon also known as the Start. After clicking it, on the search bar above, type in the Snipping Tool and look for it.
Step 2. Once it appears, access it and click on the Snipping Mode icon. You have 3 options, you can choose, Rectangle, Freeform, Window, and Full Screen.
Step 3. Now, to start taking screenshots, click on Ctrl + Windows + S to easily access the snipping tool, and choose how you want to take your screenshot.

Step 4. If you want to take a part of your screen, you can choose the Rectangle from the options. If you want to screenshot the whole Window, choose Window. Meanwhile, if you want to snip the whole screen of your computer, choose Full Screen. Lastly, if you want to be creative, you can choose the Free Form to take a creative screenshot.
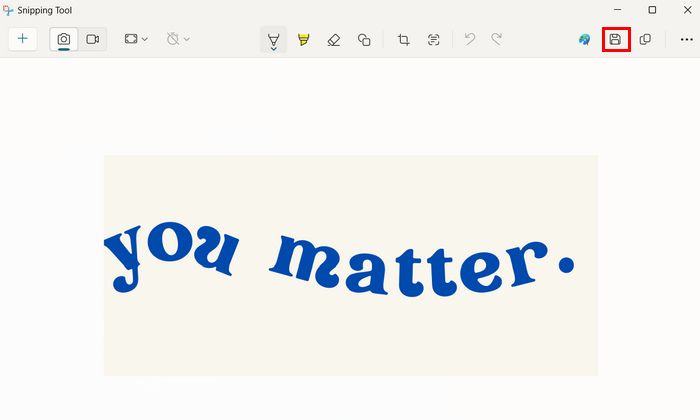
Step 5. Once you’ve taken a screenshot, you can save the file by clicking the Save button above.
Windows 10
Step 1. First, on your computer, you need to access the Snip and Sketch by simply pressing Ctrl + Window + S.
Step 2. After that, you’ll notice the screen will gray out slightly. From that, select the area you want to take a screenshot of by clicking and holding the left mouse button down and then dragging the window around the area.
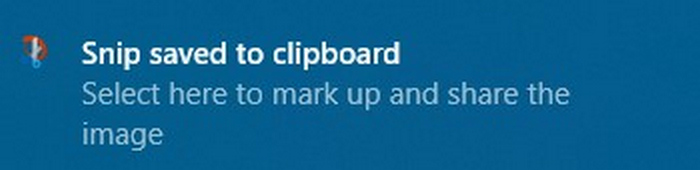
Step 3. Now, you’ll be notified that your screen has been screenshot and it will appear at the lower right corner of the screen saying that the screenshot has been saved to the clipboard.
Step 4. Right after that, paste the screenshot into the document by pressing the Ctrl + V keys at the same time or by right-clicking in the document and selecting Paste in the context menu.
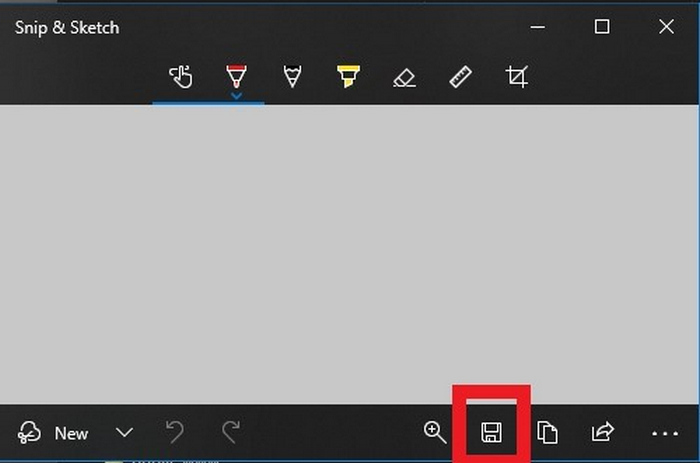
Step 5. You can also save the screenshot as a file by clicking the notification at the lower right corner. A Snip & Sketch window will appear, and just click the Save icon to save your screenshot image.
Method 2: Using VLC Media Player
VLC Media Player is a well-known, open-source media player that also offers a built-in way to extract frames from a video. Unlike manual screenshots, VLC can automatically save a sequence of images while the video plays, making it useful if you need multiple frames from different moments. It also supports various video formats and lets you customize the image format, output location, and frame capture frequency.
Steps on How to Use VLC Media Player to Extract Frames From a Video:
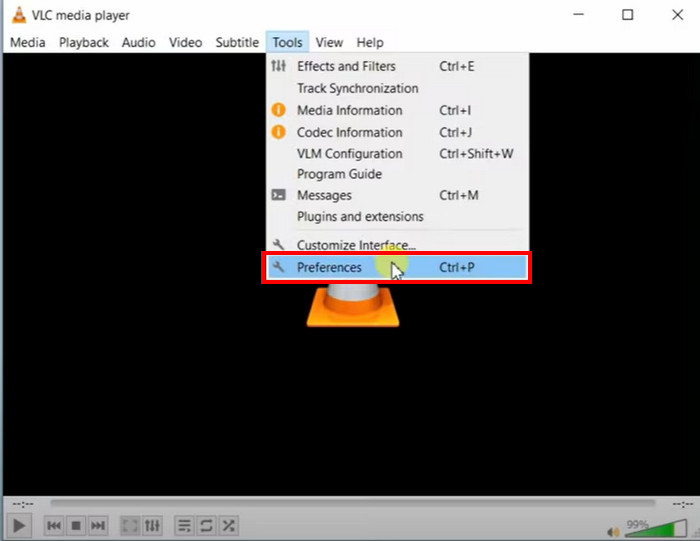
Step 1. Install and open VLC Media Player, then go to Tools, and choose Preferences.
Step 2. At the bottom-left, under Show settings, select All to display advanced settings.
Step 3. In the left menu, go to Video, then Filters, and check the Scene video filter to enable frame extraction.
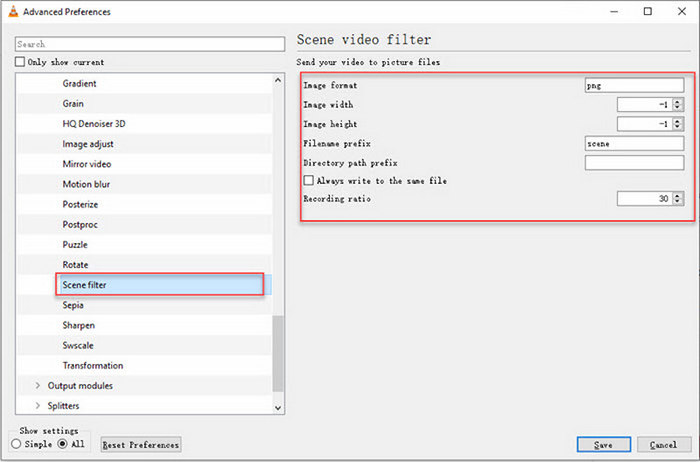
Step 4. Under Filters, click Scene Filter, then choose the image format. After that, set the directory path where frames will be saved.
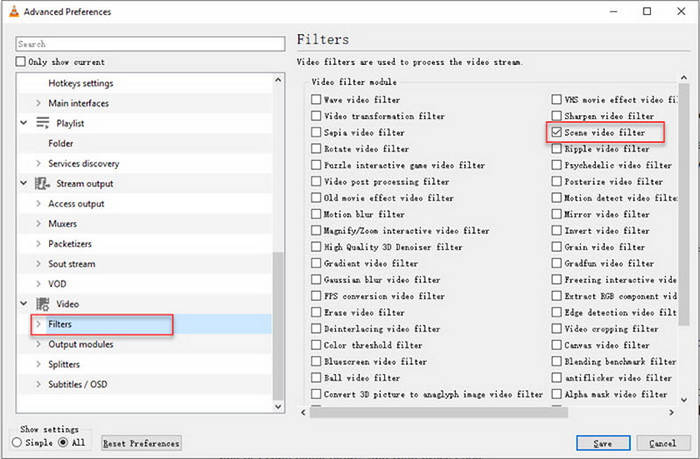
Note: Set the recording ratio, e.g., 10 is equal to 1 image every 10 frames.
Step 5. Leave Image width and Image height set to -1 to keep the original video resolution, then click Save.
Step 6. Close and reopen VLC, play the video, and VLC will automatically extract and save frames while the video is playing.
Method 3: Using FFMPEG
FFmpeg is a powerful, open-source multimedia tool commonly used for video processing tasks such as conversion, editing, and frame extraction. Unlike software with a graphical interface, FFmpeg works through command-line instructions, giving users precise control over how frames are captured. This method is especially useful for advanced users who want to extract every frame or a sequence of frames efficiently, without relying on third-party apps.
Steps on How to Use FFMPEG to Extract a Frame From a Video:
Step 1. Download and install FFmpeg from its official source. On macOS, you can also install it using Homebrew by running the command to install FFmpeg in the Terminal.
Step 2. Open Terminal and navigate to the folder that contains your video file using the change directory command.
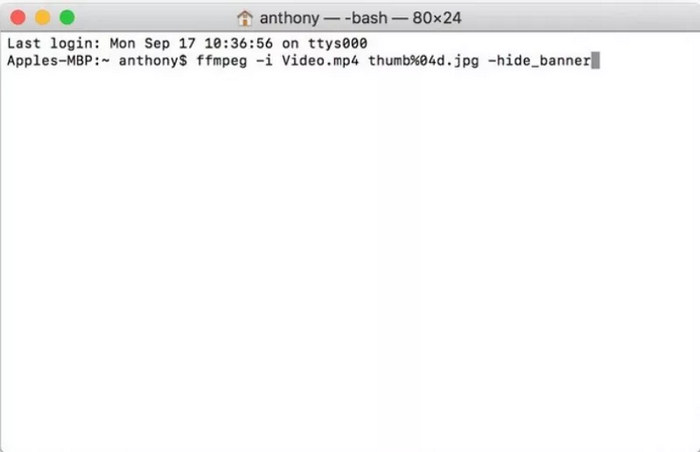
Step 3. Enter the FFmpeg command to extract frames from the video, specifying the input video file and the desired image format for the output.
Step 4. Press Enter to run the command. FFmpeg will process the video and extract frames automatically.
Step 5. Once the process is complete, all extracted frames will appear in the same folder as the original video file, saved as individual image files.
Part 3. Enhance Video Before Extracting Frame Vidmore Video Enhancer
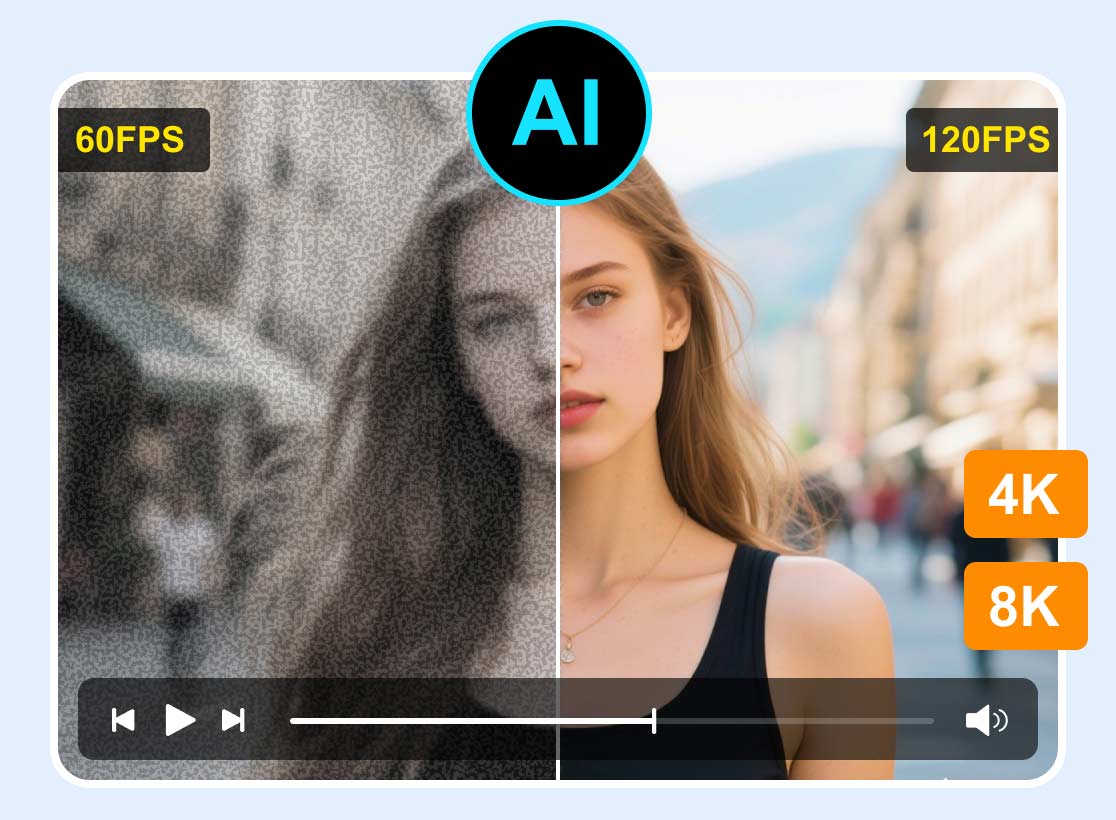
If you want to extract frames from a video without sacrificing quality, Vidmore Video Enhancer is one of the most reliable tools to use. Designed for both beginners and advanced users, this AI-powered software enhances video quality before extraction, making sure the frames you capture are sharp, clear, and visually usable. Instead of pulling frames from a low-quality or dark video, Vidmore optimizes the footage first, resulting in better still images.
This method is ideal if you’re working with blurry, low-resolution, or poorly lit videos and want your extracted frames to look clean and professional with minimal effort.
Advantages of using Vidmore Video Enhancer for frame extraction:
- AI-powered video upscaling improves resolution, resulting in sharper extracted frames.
- Enhances brightness and clarity, making frames clearer even from dark videos.
- Frame-level optimization ensures still images look refined, not pixelated.
- GPU acceleration speeds up processing, even for high-resolution videos.
- High-quality output formats preserve image detail during frame capture.
- Beginner-friendly interface with drag-and-drop support for easy use.
- Minimal manual work, as AI handles most of the enhancement automatically.
Steps on How to Use Vidmore Video Enhancer:
Step 1. First, you need to download and install the Vidmore Video Converter on your device.
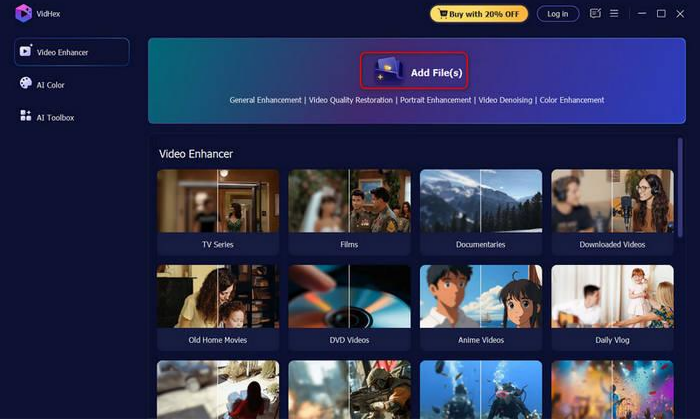
Step 2. Next, launch the tool and click the Add Files button to add the video that you want to enhance.
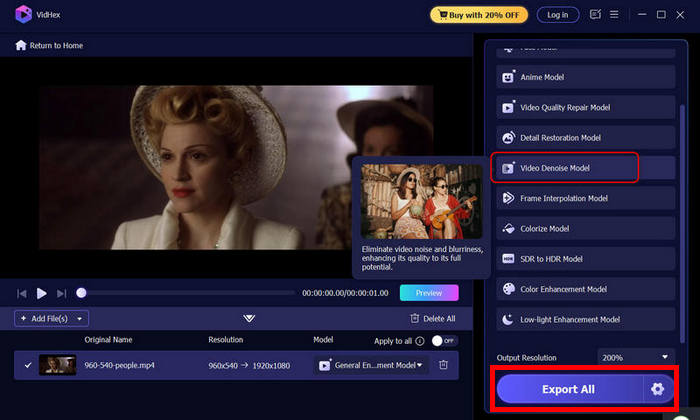
Step 3. Select an AI model based on your need and click the Export all button to download the video with the enhanced frames.
This method is ideal if you’re working with blurry, low-resolution, or poorly lit videos and want your extracted frames to look clean and professional with minimal effort.
Part 4. FAQs on How to Get Frames From Video
Will extracting frames reduce image quality?
No, extracting frames from a video does not reduce quality if done properly. Tools like Vidmore Video Enhancer and FFmpeg preserve the original resolution, while manual screenshots may result in lower quality depending on screen resolution and playback settings.
Can I extract multiple frames from a video at once?
Yes. VLC Media Player and FFmpeg allow you to extract multiple frames automatically based on a set interval or frame rate. This is useful if you need a sequence of images instead of just one frame.
Can I extract frames from a video on Mac or Windows?
Yes. Vidmore Video Enhancer, VLC Media Player, and FFmpeg are all compatible with both Mac and Windows. Manual screenshots can also be done on either platform.
Conclusion
Now that you know how to get frames from a video, you can easily capture clear, high-quality images from any moment. Whether you choose Vidmore Video Enhancer, manual screenshots, VLC, or FFmpeg, each method helps you save time and get the perfect frame for thumbnails, presentations, or social media. What are you waiting for? Let’s get started!