How to Resize a Photo in Powerpoint Without Distorting Using 3 Steps
When attempting to incorporate pictures into Powerpoint, you may occasionally run into complications related to the size of the image. The image will typically display its actual size if you insert it using the conventional method. You must align the photo to ensure it fits properly on each slide. On the other hand, if your presentation has many pictures, doing this will take a significant amount of time. And to help you ease your tasks, this blog will show you how to resize a picture in Powerpoint.

Part 1. How to Resize a Photo in Powerpoint
In the following texts, you will know to automatically change the size of a picture in PowerPoint.
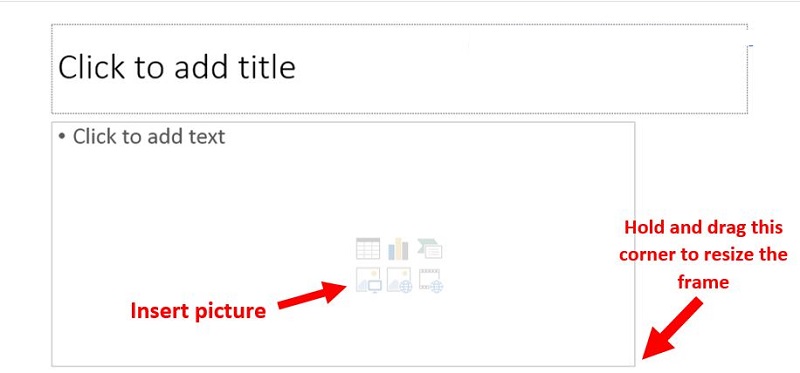
Step 1: To begin, create a slide that can have pictures inserted into it. When you want to choose a slide template, you go to the Insert menu.
Step 2: The slide will display the content frames when ready. We can adjust the frame to exactly match the dimensions of the picture that will include. To resize the picture, press and hold the dots in the four corners of the frame and then drag them.
Step 3: To enter a picture, click the Picture icon. After that, the picture will be automatically adjusted to fit the frame. You will no longer need to resize the image to work in the frame manually. Even if you lower the size of the picture to its tiniest possible size, the image's resolution will not be affected.
Part 2. Best Way to Resize Photo Without Losing the Quality
1. Vidmore
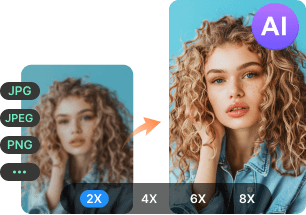
Vidmore Free Image Upscaler is the finest choice for you if you seek various alternatives when resizing your photos in Powerpoint. It is a web-based application that can be used on all platforms simultaneously, including Windows, iOS, OS X, and Android. It is an online picture more upscale that allows users to increase the size of their photographs by up to 8 times while maintaining high quality throughout the process.
Because it does not include a great deal of technical information, Vidmore is a simple tool. And it is driven by machine learning and other forms of artificial intelligence. Even though it is an online tool, it offers the highest level of performance. Because of this, you don't have to be concerned about the overall quality of the photographs. PNG, BMP, and JPG are the three file formats supported by the Vidmore Free Image Upscaler application. Suppose you are interested in learning how to resize your photographs with the assistance of this tool. In that case, you will find the solution here.
Step 1: You may find Vidmore Free Image Upscaler by searching for it in your browser. Clicking the Upload Image button on the main page will allow you to submit an image for expansion. Your computer will prompt you to submit a photo of poor quality.
Try Image Upscaler Now!
- Improve photo quality.
- Enlarge picture to 2X, 4X, 6X, 8X.
- Restore old image, unblur photo, etc.
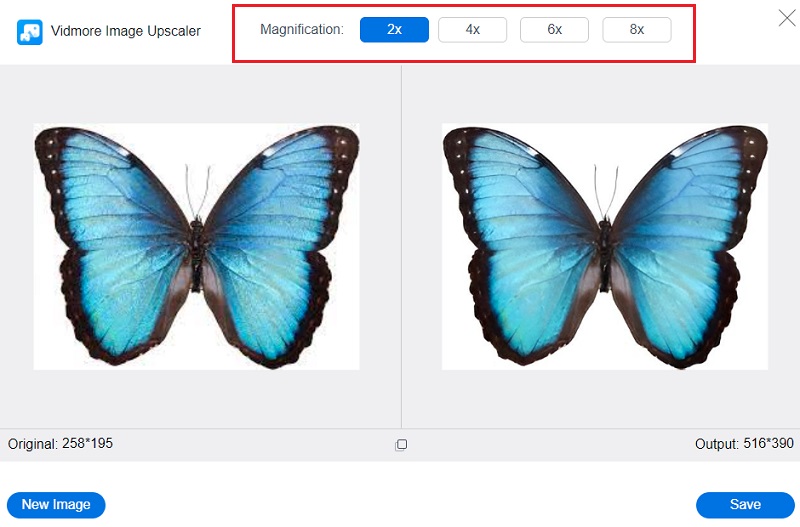
Step 2: The magnification of the picture should then be selected. The quality of the picture is improved as it is magnified. You may zoom to 8x.
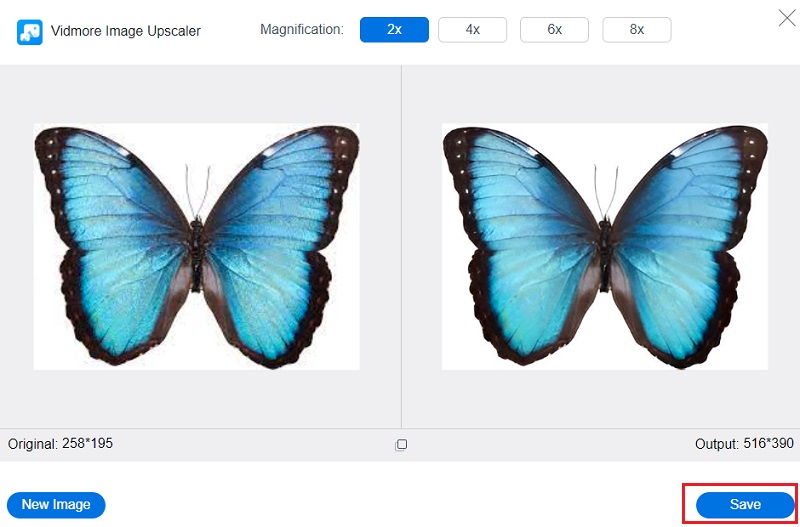
Step 3: Choose the most recent iteration of the picture you want to save. After doing so, click the Save button to save the image in your computer's correct directory.
2. ResizePixel
Another straightforward and uncomplicated tool allows you to adjust the size of the photographs you upload. Choose the dimensions in pixels for the picture's width and height, and then decide whether you want the final image to be compressed while maintaining its quality or resizing it. You can convert the files, or you may choose to maintain them in their original format. Automatic compression reduces picture size without affecting quality. Heavy graphics might slow down your website's loading time, limiting conversions.
Step 1: See the official website of the ResizePixel Free Online Image Editor and then choose the Upload Image option from the menu.
Step 2: After that, it will present you with the Width and Height fields, where you should enter your chosen scale. You may use the percentage slider if unsure how to adjust the width and height sections.
Step 3: After selecting the appropriate dimensions for your file, you may click the Resize button and choose the Go to Download option. That brings us to an end!
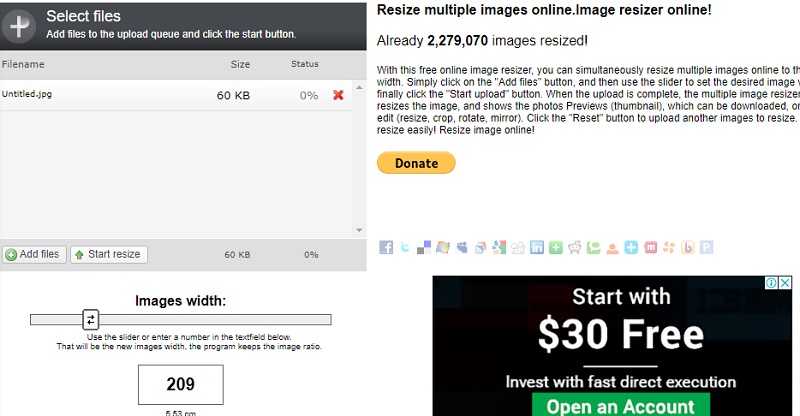
3. Online Image Resize
This precise image resizing tool is an excellent alternative if you find other online picture resizers too complicated or difficult to use. One choice is available: choose one or more photographs and then select the width that you wish to apply to all of them. The width you choose will be applied uniformly to all photographs you upload to Online Image Resize. After that, you can alter specific files by cutting, flipping, duplicating, or resizing them further.
When you are finished, you can download each separately or download them all at once in a ZIP file. Please check the breakdown of the process below.
Step 1: When you go to the tool's main page, it will ask you to drag the picture you wish to resize into the appropriate area. To add files, use the Add Files option.
Step 2: After that, adjust the value using the slider, or type a number into the box below.
Step 3: After you have finished encrypting the number you choose, you will need to click the Start Resize box and wait for the file to be downloaded onto your device.
Part 3. FAQs on How to Resize a Picture in Powerpoint Without Distorting
How to resize a picture in Powerpoint without distorting it?
Always utilize the Corner handles when scaling a picture to prevent any distortion from occurring. Stay away from those halfway between the inner and outer margins. Some of the photos you have included in your projects will have their aspect ratios preserved, while others will not. If, however, you consistently utilize keys like Shift or Control while dragging from a corner handle, you won't even have to bother about whether or not they are correctly locked.
Can a picture be resized appropriately in PowerPoint?
To begin, choose the image, shape, text box, or WordArt piece whose dimensions you want to modify by clicking on it. In the boxes labeled Height and Width, located under the Scale section of the Size tab, enter the proportions of the existing height and width to which you wish the image to be resized. And as the last step, uncheck the option labeled Lock aspect ratio.
In what ways does Microsoft PowerPoint accommodate various picture file types?
JPG, PNG, TIFF, and BMP are several types of image files that are compatible with Microsoft Powerpoint.
Conclusions
You will learn how to resize a photograph in Powerpoint by following the above steps. Changing the size of a picture inside Powerpoint itself will not, however, ensure that the image will maintain its high quality. If you want to know how to resize an image in Powerpoint without distorting, you better need an online tool such as Vidmore Free Image Upscaler.