List of Approaches How to Adjust Audio Delay in VLC
VLC Media Player is a famous tool among users due to its ability to play most media files on most channels. It is compatible with various formats, including multimedia files, DVDs, audio CDs, VCDs, and media streaming protocols. Aside from that, this program is entirely free. You can use VLC for basic video recording, editing, and cutting, and it includes extra features like subtitle syncing and video and audio filters. However, there are instances that this tool has shortcomings, such as the audio and video being out of sync. That is why in this post we will help you fix desynchronized video and audio with VLC.

- Part 1. How to Fix Audio Video Delay in VLC Media Player
- Part 2. Best Alternative to VLC Audio Recorder
- Part 3. How to Sync Audio to Video
- Part 4. FAQs About VLC Audio Delay
Part 1. How to Fix Audio Video Delay in VLC Media Player
There are different approaches to adjust the audio delay in VLC on Mac and Windows devices. Please take a look at them below.
1. How to Achieve That on Windows
Step 1: To begin, launch VLC Media Player and navigate to the Tool tab. Then, tap the Preferences button.
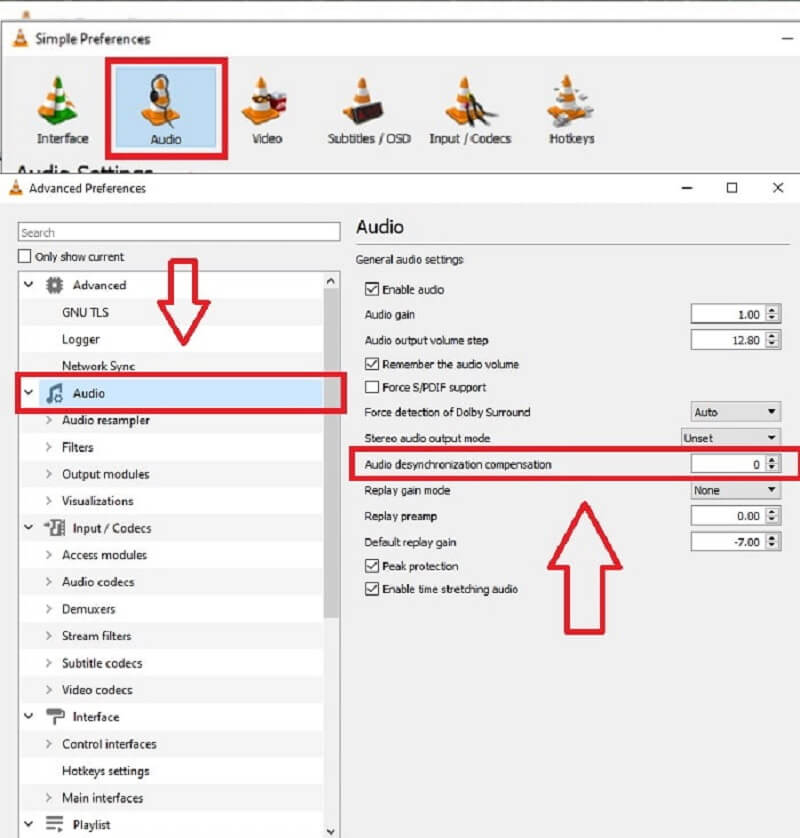
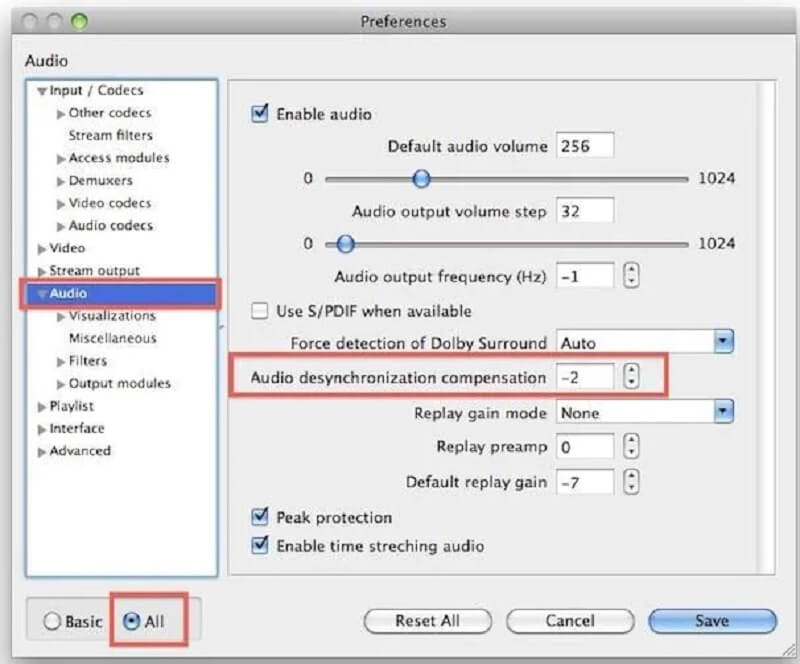
Step 2: Following that, another interface will show up. Continue by selecting the Audio tab. Then, tick All in the lower-left corner of the screen to access the advanced settings.
Step 3: Click the Audio tab and adjust the Audio desynchronization compensation once you are on the advanced settings. Then, if the audio is playing before the video, turn the volume down, and vice versa. When you've finished adjusting the audio, click the Save button.
2. How to Achieve That on Mac
Step 1: In Mac, launch the VLC media player and add a file from your desktop by tapping the Open Media button or moving the file to the VLC.
Step 2: Afterwards when, when your video file is fully prepared, play it.
Step 3: The F key shortens the audio delay by a few milliseconds, while the G key lengthens it by a few milliseconds. Vary based on whether the audio is behind or ahead of the video. The G and F keys, respectively, advance and rewind the audio.
Part 2. Best Alternative to VLC Audio Recorder
Speaking of a screen recorder that is easy to navigate and can get on both Mac and Windows devices, you definitely can depend on Vidmore Screen Recorder. This tool is the best screen recorder because it can record audio and video files, which other software cannot always do. You don't need to be concerned about the files you want to remove or the parts you want to delete using the professional recording features because a cutting and trimming function can help you. Instead of trying to record again, input the start and end times.
Here is a simple step-by-step process that you can follow to help you better understand how this professional yet user-friendly screen recorder works.
Step 1: Download the Vidmore Screen Recorder
The first step is to download the Vidmore Screen Recorder by clicking one of the links below. Then you must install it and wait for the tool to begin working.
Step 2: Click the Audio Recorder
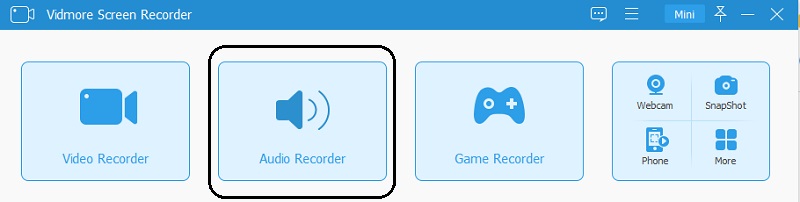
Once the tool can run, you can open it, and it will display the tool's main interface. To record only the screen, click the Audio Recorder button to take you to the Audio Recording section.
Step 3: You Can Now Start Recording
You can begin recording the audio you want to keep a copy of once you are in the Recording section. Turn on the System Sound and Microphone. Finally, press the red REC button to start the audio recording.
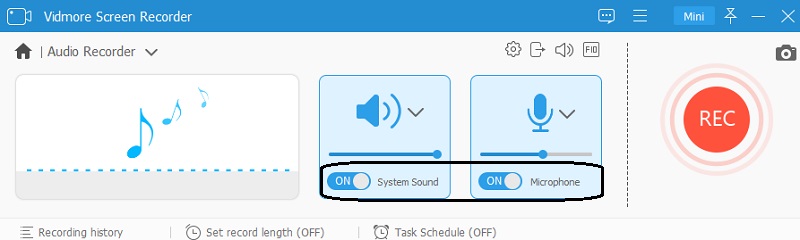
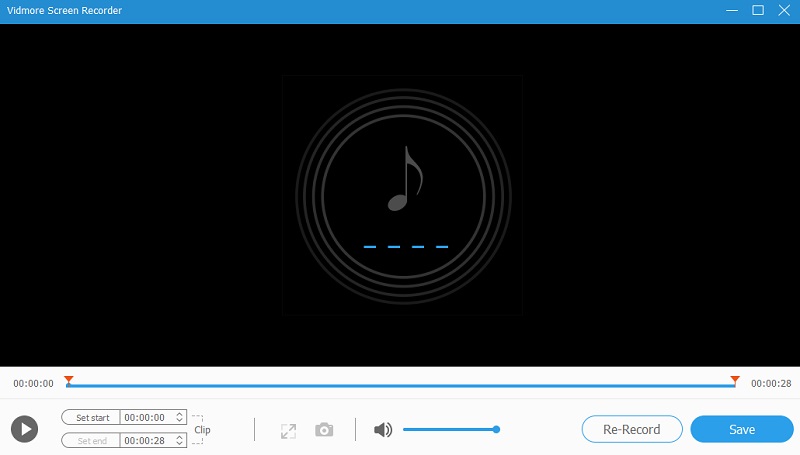
When the recording starts, you can adjust the volume of the Microphone and the System Sound to your liking. Then, click the Red color button to stop the recording on the left side of the screen. After that, if there are any unwanted parts of the recorded audio that you don't like, you can adjust the start and end date.
Step 4: Save the Recorded File
If you are uncomfortable with the audio files, you can reshoot them by clicking the Re-Record button. If you are already satisfied with the outcome, click the Save button and name the tool before proceeding.
Part 3. How to Sync Audio to Video
If you already saved your recorded audio and found out that the video doesn't match the sound, you don't have to worry as there is no need to take another shot. If you encounter that kind of problem, you can use the Vidmore Video Converter. You may see this tool as a video converter, but it can edit both audio and video. Aside from that, it allows you to choose different file formats that you require for your clips. With the help of the syncing tools of this program, you can easily match the audio to video. Lastly, you don't have a problem using it due to its friendly interface.
Step 1: Get the Audio-Video Editor
You must first obtain the software by clicking one of the Download icons below and installing it on your device before proceeding. After that, you can use your device to execute the tool.
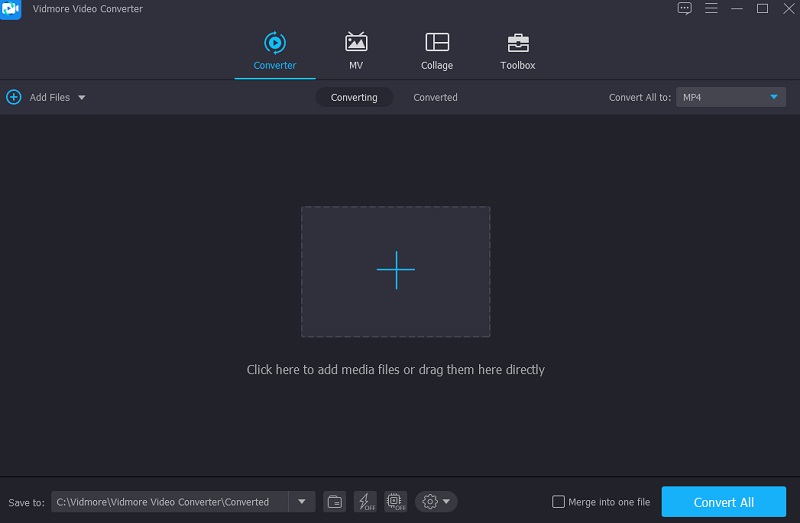
Step 2: Insert Your Recorded Clip
Start uploading the video file to the Timeline by clicking Add Files on the left upper half of the screen or simply the Plus sign on the tool's center interface once the program starts on your device.
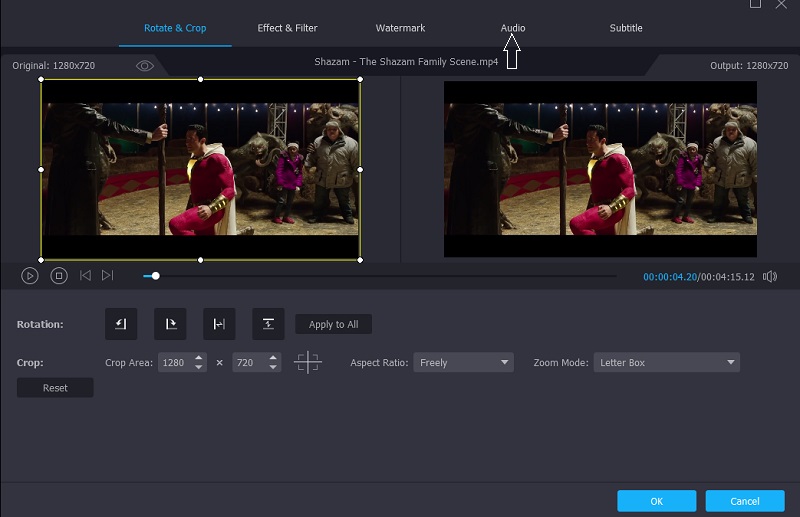
Step 3: Sync the Audio and Video
Then it's time to fix the audio and video sync issues. Select the editing symbol, which symbolizes a Star. After you've been through the editing section, select the Audio tab to access the audio settings.
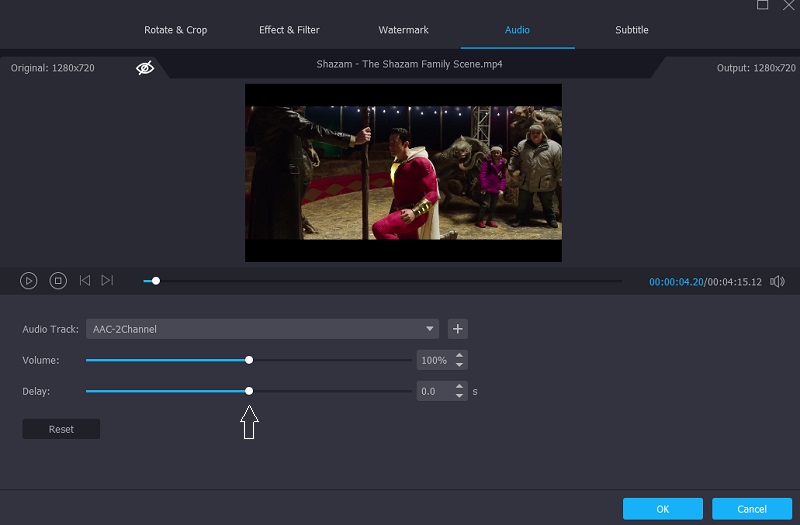
You may now fix the audio delay by changing the Delay slider once you're in the audio settings. Adjust it until the audio and video are in sync. Then, press the OK button.
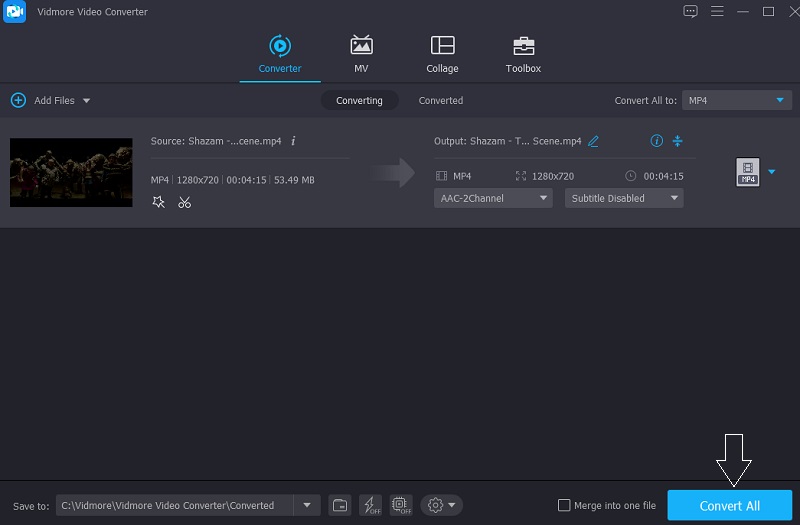
Step 4: Convert the Recorded File
Once you are done following the steps above, begin the conversion process. After clicking the Convert All button, wait for your video file to convert.
Part 4. FAQs About VLC Audio Delay
What causes the audio to lag behind the video?
Audio processing speed is the most frequent cause of audio and video being out of sync.
What is the best way to solve the audio delay in Windows Media Player?
Select 'Options' from the drop-down menu on the Windows Media Player 'Organize' tab. Today's video is. Then, on the 'Performance' tab, click. Click the 'Drop Frames to Keep Audio and Video Synchronized' check box to activate this option.
Why does my computer's audio lag?
Device drivers that are out of date or corrupted can be a problem.
Conclusion
Through the help of this post, you can now enjoy the videos you are watching by fixing the VLC audio delay. But if you prefer an easy tool to use, you can go to the indicated software above.