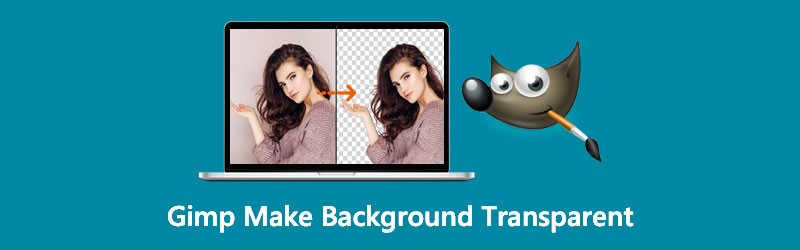
Helpful Tricks To Make Your Image Background Transparent Using GIMP
Whether you want to make your products eye catchy to the market or you just simply want to upload a jaw-dropping profile photo on Facebook, removing the background and modifying it is something you should consider. Well, if you do not know where to find the reliable tools to make it happen, you are on the right track!
The GNU Image Manipulation Program, commonly known as GIMP, was first released in 1998 by Spencer Kimball and Peter Mattis. Besides that, this tool is an open-source freeware that is good for editing, enhancing, and transforming your pictures. When we say freeware, yes, you got it right! You do not need to spend bucks to enjoy the feature-wise and various toolsets it offers. Moreover, this tool is also available with popular platforms like Mac, Windows, and Linux. And so, whether you are a professional exploring other tools aside from Adobe Photoshop or just a prodigy wanting to discover your creative skillset, we will teach you to use GIMP and make your background transparent.
- Part 1. How to Make Background Transparent Using GIMP
- Part 2. Best Alternative to GIMP on Making the Background Transparent
- Part 3. FAQs on Making Background Images Transparent Using GIMP
Part 1. How to Make Background Transparent Using GIMP
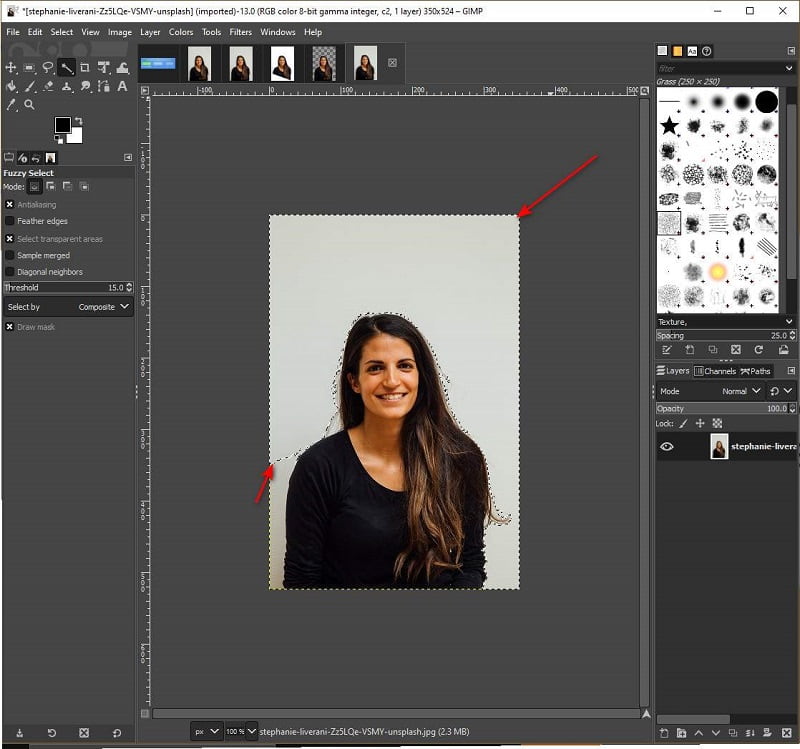
We provided effortless and simplified ways to delete your background image on GIMP using the Fuzzy Select tool. The outlined instructions below are the steps on how to make background transparent using the GIMP software.
Step 1: To download the tool is the first step you need to do. After that, run the software and follow the setup wizard to install it.
Step 2: After launching the tool, drop down the File on the top left side of the interface and select Open. Choose in your computer file which image you want to edit. After that, go to the image layer section. Right-click using your mouse and select Add Alpha Channel. In this way, this will make your background transparent when rendered instead of white or black.

Step 3: After clicking the Add Alpha Channel, click the Fuzzy Select Tool on the tools panel located at the top left side of the interface. If you are wondering, it is the icon that looks like a magic wand. On the same portion of the interface, make sure that you tick the Antialiasing and Select Transparent Areas.

Step 4: When done, click the areas on the image where you want to remove its background. By then, the selection will appear in discontinued lines. On your keyboard, press Delete, and the background should be transparent.
Part 2. Best Alternative to GIMP on Making the Background Transparent
While GIMP is an incredible tool to use, several users cannot afford to install them on their software because of their limited disk storage. Aside from that, others tend to compare its interface and tools with Adobe Photoshop but consider GIMP looking a bit outdated.
The good news is that if you want to make the background of your image transparent, it is feasible through using an online tool called Vidmore Background Remover. Using advanced artificial intelligence (AI), this online tool processes the background of the images from the foreground in a few seconds. In that way, you do not need to dread if you have no background knowledge in using tools to make it work.
Not only that, Vidmore Background Remover allows you to customize your background by either changing the background color or pasting another image behind the portrait. Lastly, this web-based tool can free transform your pictures by rotating in different angles and flipping.
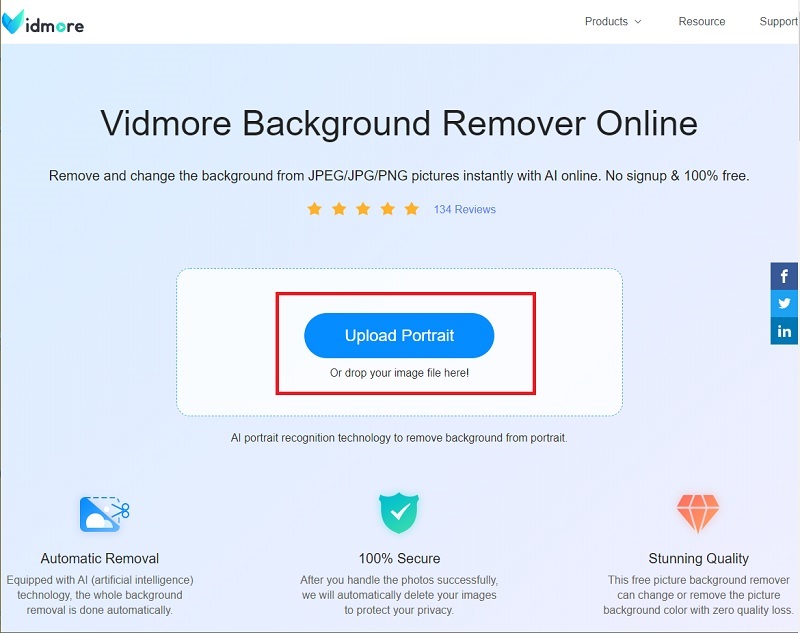
Step 1: Upload Your Image
Go to your search engine and open the link. After that, you can upload your images by clicking Upload Photo. While importing, the tool also processes the image separating the background from the portrait or subject. Wait for a few seconds or, depending on your internet stability.
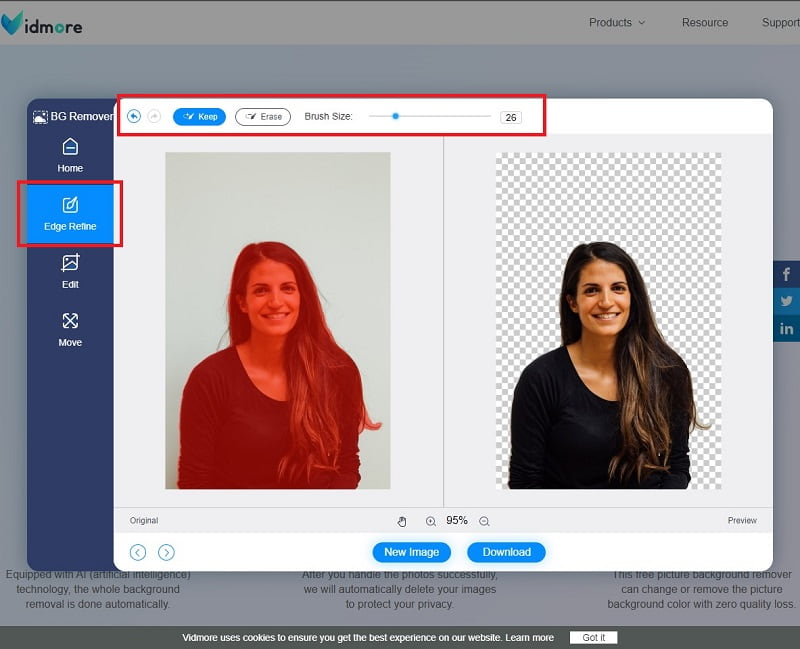
Step 2: Edit the Background
Based on the illustration below, you can see that the background is removed. If this also appeared in your image, you can download the picture already. If not, play around with the toolbar in the Edge Refine Section. Based on their names, you can Keep or Erase the part you want and adjust the Brush Size for details.
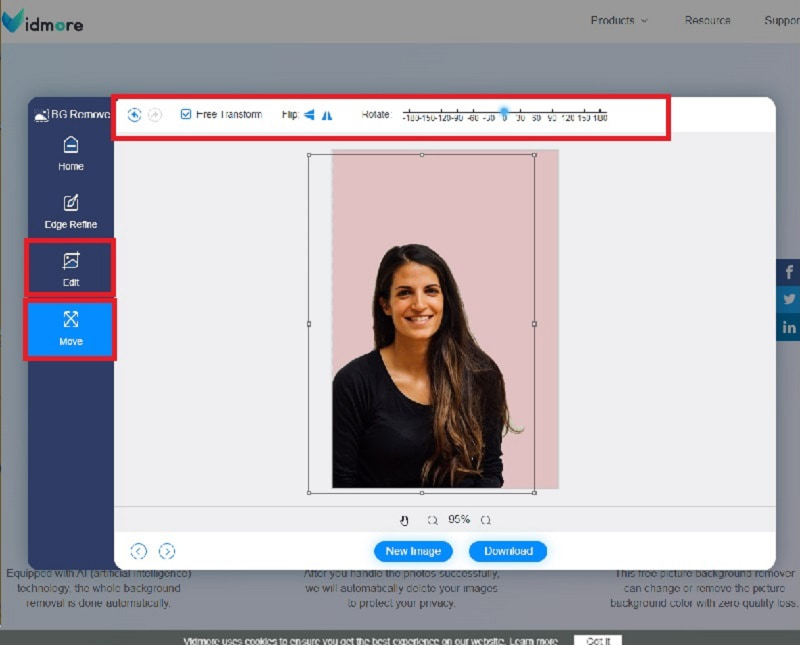
Step 3: Change the Background
Replacing your background picture is also possible using this tool. To do that, go to the Edit section under the Edge Refine. Here, you will see the Color, Image, and Crop toolbar. Play around with this tool and let your creativity flow. On the other hand, you can go to the Move section to free transform the image.
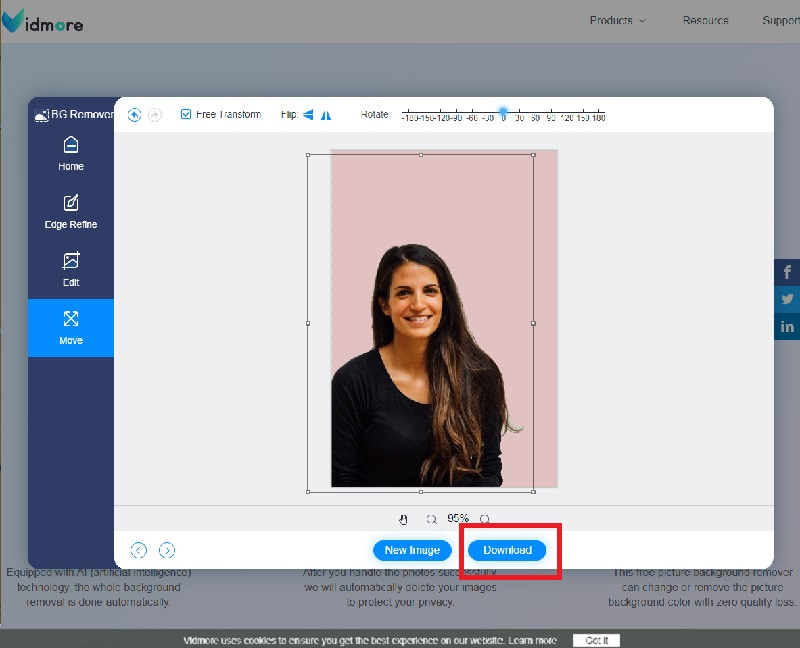
Step 4: Download the Output
When you are satisfied with your work, hit the Download button in the lower portion of the interface.
Further Reading:
How to Screenshot FaceTime on iPhone/iPad/Mac
How to Make GIF from Images in Photoshop and Using Great Alternatives
Part 3. FAQs About Making Background Images Transparent Using GIMP
Can my image's file size be reduced after removing the background?
Absolutely, yes! The image's file size might reduce, but not too much. You won’t notice a specific change in the size; it is just a few KBS. Also, keep in mind that the size of your file also depends on the type of file extension you will use. For example, PNG is a lossless compression type while JPG is under lossy compression.
Why can’t I upload my picture on Vidmore Background Remover?
To solve this problem there are two things you should consider. First, you have to check if the file extension of your picture is in any of this: jpg, jpeg, or png. Secondly, the tool does not support photos with pixels of more than 3000. To change this, you can go to Paint, select the Resize toolbar and lower the pixel. When done, save your file into the said formats mentioned a while ago. After that, you are good to go and try Vidmore Background Remover.
Why are my pictures in .xcf file extension after using GIMP?
Usually, GIMP saves the edited pictures in the .xcf file extension. To change it, press Ctrl+Shift+E on your keyboard to export the image. When you see the file's name on the top of the panel, add the file extension like .png, .jpg, .raw, and so on after it.
Conclusion
There you have the online and offline tools you can use and make images in transparent background. If you are not yet acquainted with working with offline software, you can choose online tools since they contain an AI processor. If this is the case, you should try the Vidmore Background Remover, which has many distinct features. In that way, you will have lesser struggle since it can give you the final output in just a moment.