All You Need to Know about Audio Compression and How to Use It
Working on an audio file requires you to learn methods that help with the quality and file size. One process you will eventually do is audio compression, as it balances the entire mix. Since it is an essential task for the audio process, you will be guided here on elaborated details and which compression options you should use for various audio types.

PAGE CONTENT
Part 1. What is Audio Compression
To simply put, audio compression is a solution that balances the dynamic range of the audio wavelength. It evens the loudest and softest part of the sound while narrowing out the levels and furnishing extreme peaks.
When it comes to leveling out the sound, the process of audio compressing will allow it to be heard clearly, both in the loud and quiet parts. You can say that adjusting the volume can steady the wavelength, but the compression is best to use for an overall balance.
A good example is loud bangs on a drum kit. While it is important for sound impact, compressing the most audible signal will put it in an equal context. Thus, the peak levels are uniform and can sustain the corresponding tone.
Part 2. Audio Compression Types
You should know that there are two types of audio compression. Mainly, lossy and lossless compressions are embedded in various file formats. And this, too, can impact the whole process. Without further ado, here are the full details.
Lossy Compression
Audio formats like MP3, AAC, and Ogg Vorbis are lossy ones. This means their lossy algorithm will allow them to reduce some data, as well as the file size. Usually, the data that is removed is considered irrelevant or inaudible and, therefore, is unnoticeable to the listener. Formats with the lossy compression are smaller in size, making it convenient to store more files and stream effortlessly. But other than these, when do you need a lossy compression? Here are some purposes to use the algorithm:
- Low-quality original recordings or poorly mastered tracks.
- Online music streaming for a smoother listening experience.
- Storing multiple files on devices with limited space.
- When the device does not require high-quality input.
Lossless Compression
In the case of an audio format with a lossless algorithm, the data is preserved or restored, even after an intense decompression. It is also known as reversible compression since the file data are kept in good condition.
Since it is unnoticeable to compress audio files with a lossless format like FLAC and ALAC, many professionals use it for high-quality audiophiles. But one thing to consider is how a file can balloon up without eliminating unnecessary data. Still, you can use a lossless format when:
- Producing, mixing, and preserving audio tracks.
- Archiving audio files for a long time.
- Streaming high-quality sound using high-end equipment.
Part 3. Parameters of Making Audio Compression
After learning the basic types of audio compression, how do you effectively use it? Before that, you need to learn its different parameters to help you control the reduction in the signal’s volume.
Threshold
It is the beginning part of the compressing process. The threshold sets the activation level of compression. This will only happen when the signal goes above the threshold. If the threshold is lower, then more signals will be compressed.
Ratio
It determines the volume reduction when it passes the threshold. For example, you set the ratio at 2:1. Once the signal exceeds the threshold at 2dB, it will be lessened to 1 dB. The same goes for if the signal is at 6dB; the reduction will be 3dB above the threshold.
Attack Time
This parameter manages the time it takes for the signal to compress. A fast-speed attack time will have more belligerent transients, but a slower one will reduce the sound’s sustain. If you wish to use attack time on vocals, it is better with a shorter parameter.
Makeup Gain
All the audio compression parameters can decrease the overall volume. And to revive some of the lost volume, Makeup Gain will be working. The parameter allows you to add more gain to the audio track. For example, the volume is at 5dB after compression, and you can set Makeup to 5dB to increase the overall volume.
Knee
The knee is a bonus parameter for audio compression. It controls how the compressor responds to the signal. With a hard knee, the compression will not happen until the signal goes beyond the threshold. On the other hand, a soft knee is more gradual and will apply smooth compression while passing the threshold.
Part 4. Best 3 Audio Compressors
Did you know that there are audio compressors that can easily reduce size with the parameters? Here, you can try the recommended tools for Windows and macOS.
Vidmore Video Converter
For quick and professional compressing, the Vidmore Video Converter should be the tool to use. It is an all-around program with an audio compressor for MP3, AAC, WAV, FLAC, ALAC, and others. It can automatically reduce the file size without damaging the sound, but it has an option for the user to change parameters like bitrate, sample rate, channel, and more. Furthermore, it assures fast and smooth compression for any audio format.
Audacity
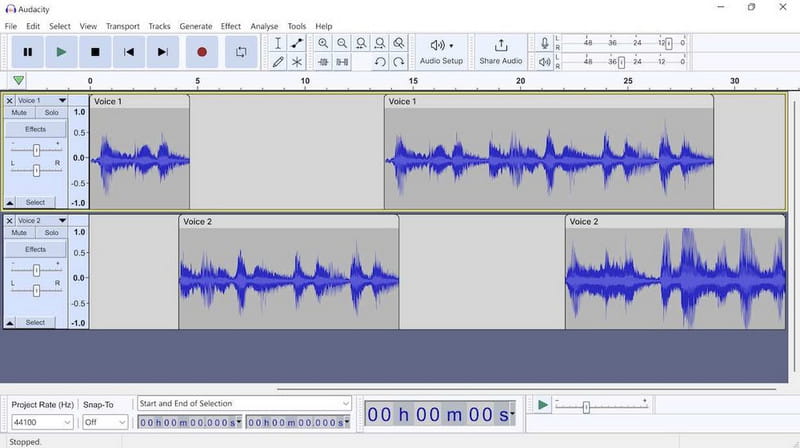
Among audio compressors on Windows, Linux, and Mac, Audacity is one of the tools for professional compression, conversion, mixing, etc. It is free and open-source, providing functions for audio editing. Its audio compressor allows you to change the parameters from the noise floor, threshold, ratio, attack time, and more. Unfortunately, you will need to take some time to learn how to navigate it because of its intimidating interface.
FileZigZag
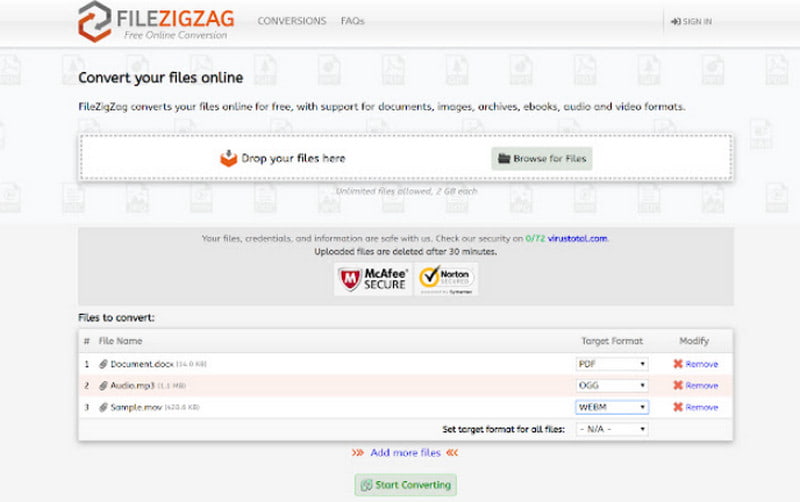
FileZigZag is an online audio compressor that offers extensive features for audio editing. But other than this, it also provides functions for multitasking, converting, and video editing. The best part is it downloads and exports compressed files to you via an email provider. But remember that using FileZigZag can only process a 180MB file at a time.
Part 5. How to Compress Audio
Vidmore Video Converter is an all-in-one tool, including an advanced audio compressor. You can maximize the solution with the following steps below:
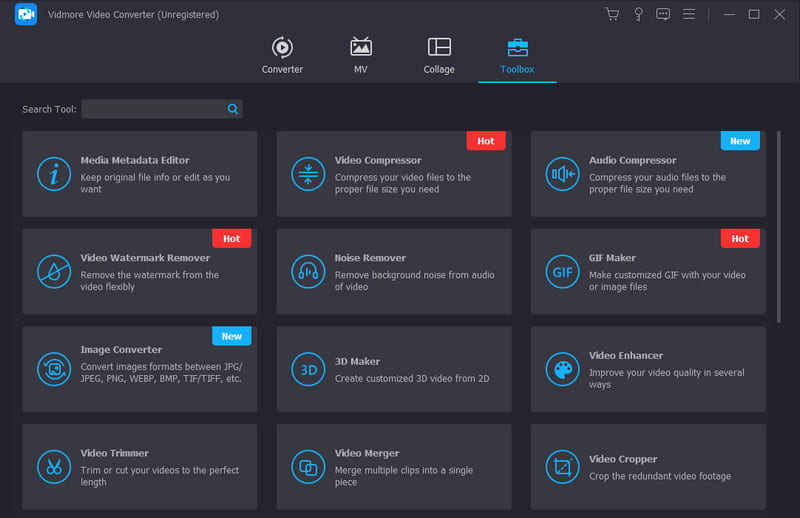
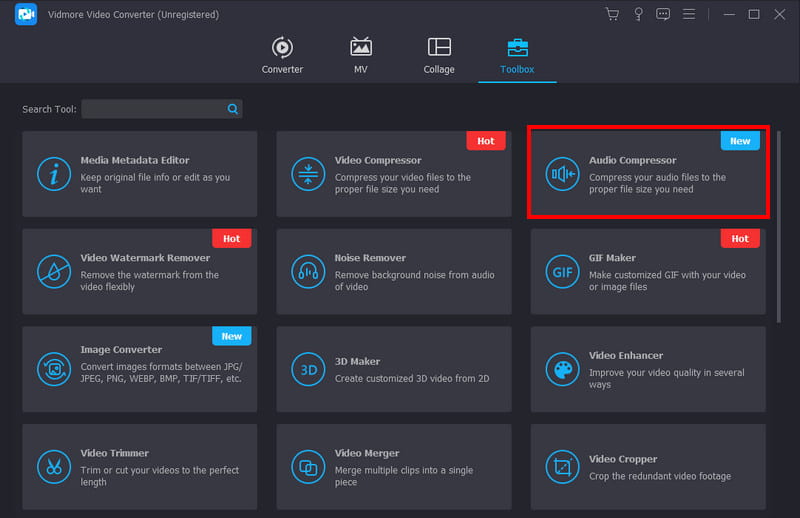
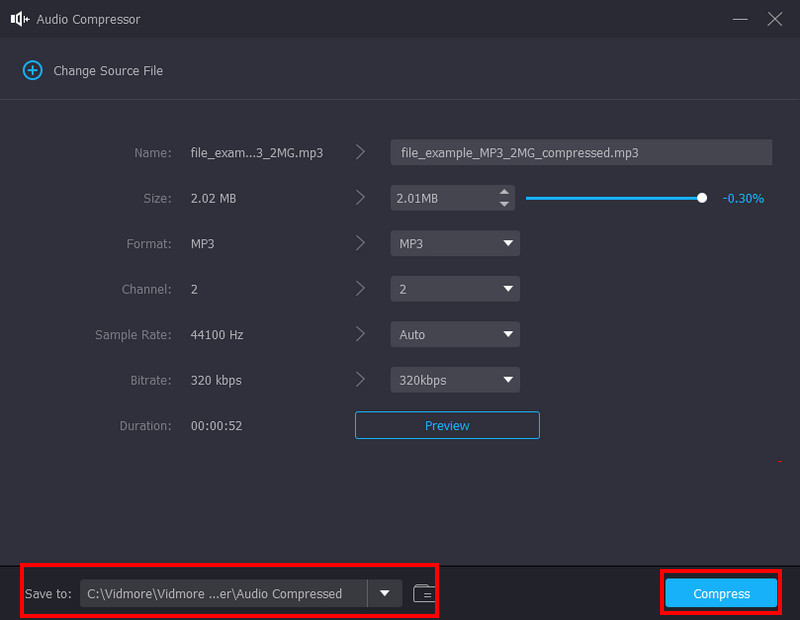
Step 1. Install the converter on your device. Once done, launch the Vidmore Video Converter and navigate to the Toolbox menu. Click the Audio Compressor and import the file you want to reduce.
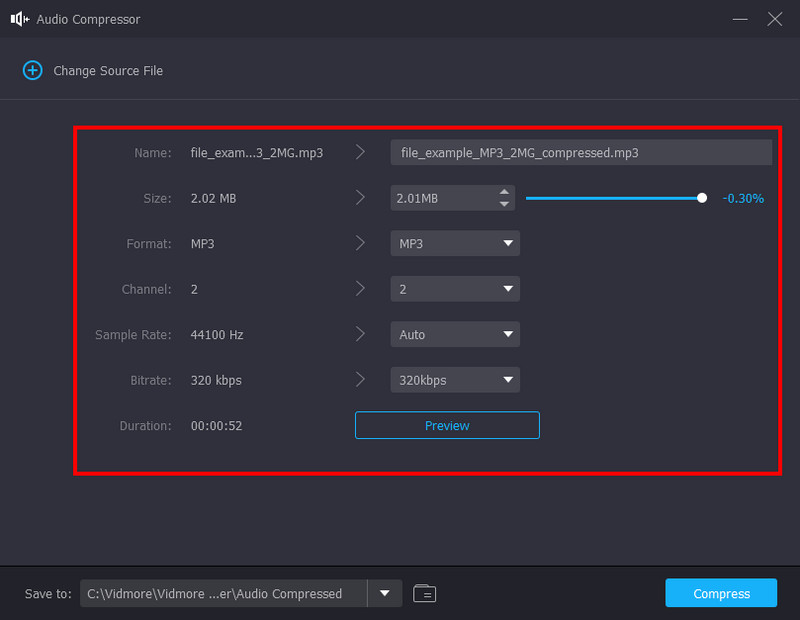
Step 2. The Audio Compressor window will appear once the file is uploaded. Here, configure the output settings, such as the bitrate, format, sample rate, profile name, and others. Click the Preview button to listen to the pre-compressed audio.
Step 3. Browse for a new designated folder from the Save To section at the bottom part of the interface. Finally, click the Compress button to start the process. Since it has a 50x speed, the conversion will only take a while. Then, you can listen to the shrunk file without quality loss.
Part 6. FAQs about Audio Compression
Does compressed audio sound better?
It depends on the format you used for the audio. But if the medium or equipment does not support a high-quality sound, you might need to compress it. After that, the audio is more compatible with the devices.
What are audio compression techniques?
The common compression techniques include the threshold, ratio, knee, makeup gain, attack, and release. You can check this post and its elaboration on the parameters to compress audio efficiently.
What are the best compression settings for audio?
It is best to study the ratio of the compression. Recognizing the ratio will help you to apply compression to the signal without harming it. If you have a ratio of 3:1, it is considered a moderate compression because it will only compress by 1dB.
How does audio compression help music or sound?
The process allows you to reduce the dynamic range of signals. It is used to equalize both loud and quiet parts of the audio so that they can be heard clearly.
Conclusion
We hope that this article helped you understand audio compression and how it works. This included the techniques that are essential to effectively reduce loud and quiet parts without distorting the quality. On the other hand, there were suggested tools for free audio compressing, including Audacity and FileZigZag. But for the best quality with advanced parameter settings, you can try Vidmoer Video Converter Ultimate on your computer. Other than its sophisticated audio compressing tool, the software offers media conversion, enhancement, and more. Feel free to get a free download here anytime you want.